How to Reduce Unwanted Noise in Your Audio: Simple Techniques for Clearer Sound
In the realm of audio recording and production, the clarity of the sound is paramount. Unwanted noise can be intrusive and degrade the quality of the audio experience.
It’s not just about the annoyance factor; it’s about maintaining the integrity of the original recording.
I’ve learned that reducing unwanted noise is a multidimensional challenge. It requires attention both at the recording stage and during post-production.
I’ve learned that the first step to ensuring clear audio starts with the recording environment. A space that is acoustically treated can significantly reduce ambient noise.
Strategic mic placement and the use of pop filters or windshields can also minimize interference.
Once the recording is captured, the next phase is editing. High-quality editing software is a powerful tool in the sound engineer’s arsenal. It enables the removal or reduction of unwanted sounds and refining the clarity of the audio.
Key Points
- Reducing noise starts with an optimized recording environment.
- Audio quality can be significantly enhanced with skilled editing.
- Preparing clean audio for distribution requires thorough processing and attention to detail.
Table of Contents
Optimizing the Recording Environment
When I record audio, my primary focus is to capture the clearest sound. To achieve this, careful consideration of the recording environment and equipment setup is essential.
Choosing the Right Environment to Minimize Noise
The first step I take is to select an environment with minimal background noise. I prefer a room with thick curtains, carpets, and cushions which absorb sound rather than reflect it.
It’s also vital to turn off any appliances that produce ambient noise, like fans or air conditioners, and to ensure the space is isolated from external noises such as traffic or construction.
- Location: Find a quiet area, free from external disruptions.
- Sound Absorption: Use materials that dampen reflections and reverberations.
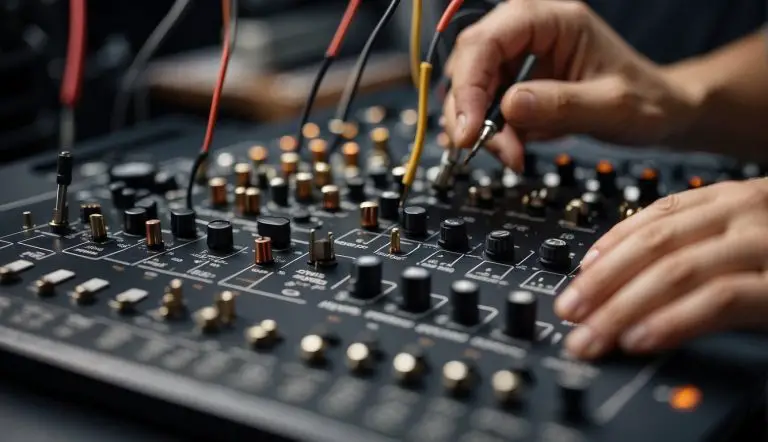
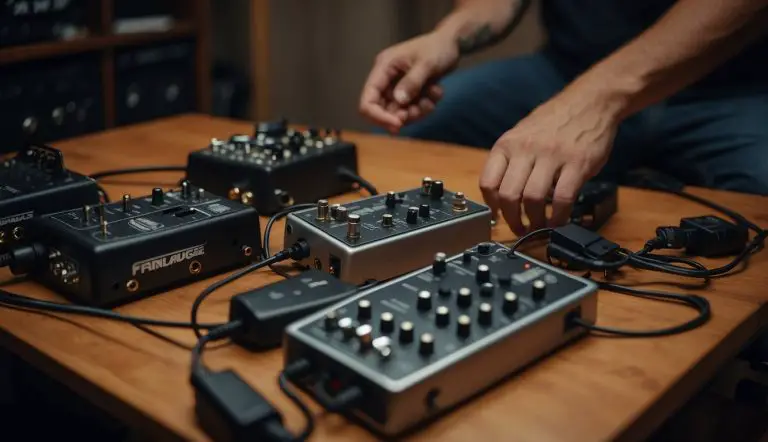
Setting Up Your Equipment for Best Results
Once the right environment is chosen, I focus on how my recording equipment is set up.
Placement of the microphone is crucial; I aim to position it away from potential noise sources and use a shock mount to prevent vibrations from interfering with the audio file.
Proper gain staging is necessary to maintain a clear signal without introducing noise. This might include using high-pass filters to eliminate low-frequency rumble.
I always test my setup by recording a sample and listening for any extraneous noise before starting the actual session.
- Microphone Placement: Keep it at a suitable distance from the sound source and away from noise sources.
- Gain Staging: Carefully adjust input levels to maintain signal integrity.
- High-pass Filters: Utilize filters to cut out unwanted low-frequency sounds.
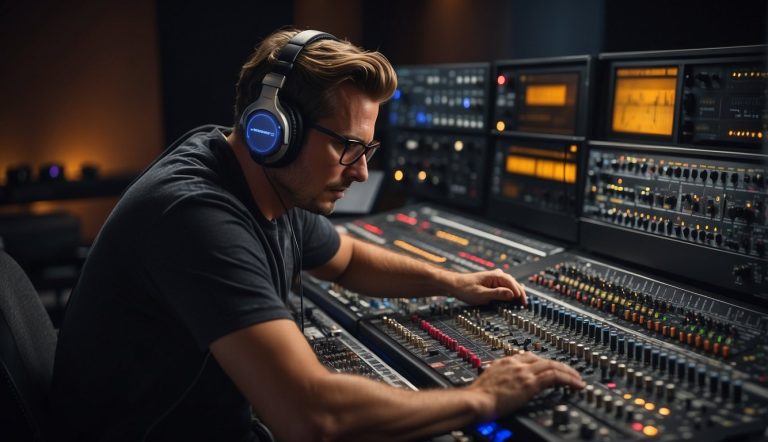
Enhancing Audio Quality with Editing Software
In my experience, the right editing software can significantly elevate the quality of your audio by reducing unwanted noise. Here’s how you can achieve clean, professional-sounding audio with the tools available.
Using Noise Reduction Tools Effectively
When dealing with various audio file formats like mp3 or AI, the key is to utilize noise reduction tools within your audio software efficiently.
For instance, applications like Audacity and Adobe Audition have dedicated noise reduction effects that can help remove background noise.
My process starts by isolating a segment of the audio that contains only the unwanted noise — this is known as a noise profile.
Then, I apply the noise reduction feature to the entire clip, making sure to adjust the settings for the best balance between noise removal and audio clarity.
- Capture Noise Profile: Select a section with just noise.
- Apply Noise Reduction: Use the captured profile to reduce background noise.
- Adjust Settings: Balance noise removal with maintaining audio quality.
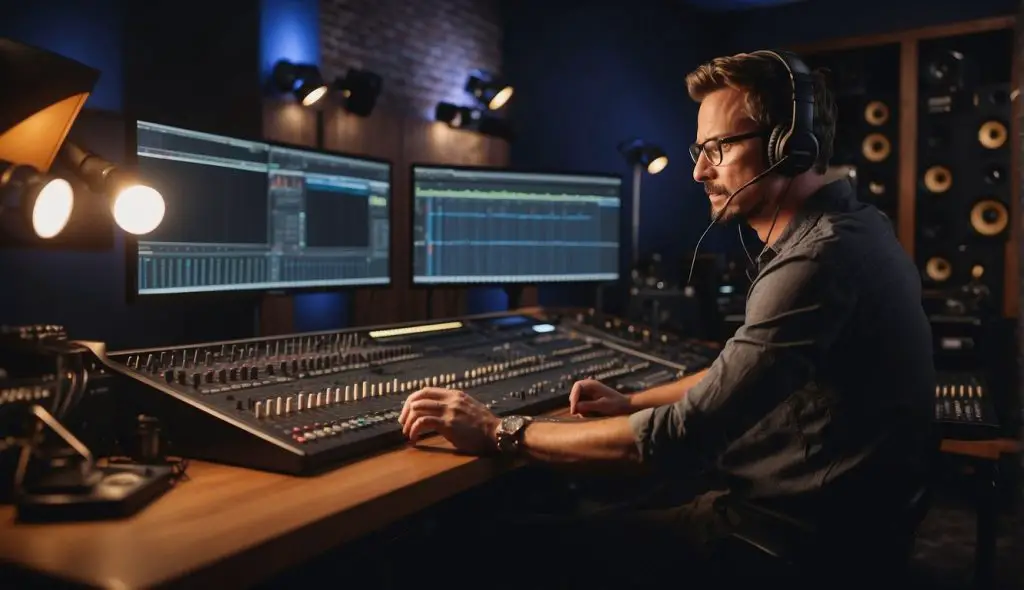
Editing Techniques for Cleaner Sound
To get cleaner sound in your audio clips, editing techniques go hand in hand with noise reduction tools.
I often use spectral frequency displays to visually identify and remove specific unwanted sounds or artifacts.
Denoising is more than just a broad stroke; it also involves precise editing, like reducing an errant drum hit or other sporadic noises that the general noise reduction might not catch.
The art is in knowing when to use automated tools and when to dive in with manual adjustments.
- Spectral Editing: Identify and remove problematic frequencies visually.
- Manual Adjustments: Target specific imperfections for precise editing.
Software Options for Different Users
The choice of audio editing software should reflect your specific needs, skill level, and the quality required for your project.
If I’m aiming for a quick cleanup of a podcast, I might opt for an easy-to-use platform like Audacity, which is effective for basic noise reduction and is also free.
For advanced projects requiring a higher fidelity, I’d go for professional-grade software like Adobe Audition.
Machine learning has also become a part of audio software, enhancing capability to clean audio through intelligent analysis and adaptive noise reduction algorithms.
- Audacity: Good for beginners and simple projects.
- Adobe Audition: Suitable for professionals and advanced editing.
- Machine Learning-Enhanced Software: Offers smart, adaptive noise reduction.
Leveraging AI for Improvements in Audio Files
When I work on enhancing audio quality, I often turn to AI for assistance. AI tools are now capable of automating enhancements and providing advanced solutions for common audio issues like noise, making my editing process more efficient and effective.
Automatic Enhancements and AI Tools
My experiences with AI in audio improvement have shown me the power of automatic enhancements.
Innovative solutions are increasingly available that harness AI to analyze and improve audio quality.
For instance, tools equipped with AI can pinpoint and mitigate audio noise.
Many of these tools have features like a vocal remover for isolating speech and a smart audio noise reduction algorithm that can automatically clean up recordings without my manual intervention.
I’ve also observed that such tools are often integrated into video editors, enabling AI-powered collaborative editing and automatic resizing of audio tracks to fit video content.
This becomes incredibly helpful when I need to ensure the audio perfectly aligns with the visual elements of a project.
The generative capabilities of AI have gone as far as to aid in the recreation of sounds or the enhancing of auditory details that were once not clear in the original recording.
Advancements in Transcription and Subtitling
The advancements in transcription and subtitling driven by AI are nothing short of impressive.
Instant transcripts generated by AI have drastically reduced the time I spend converting audio content into written form.
The accuracy and speed at which AI can produce transcripts are continually improving.
And when it comes to subtitles, AI-powered tools have been a game-changer; they can autogenerate subtitles accurately, providing AI-powered subtitles that keep pace with rapid speech and complicated dialogue.
Additionally, for video content, I’ve seen AI perform exceptionally well in generating and synchronizing subtitles, with the added bonus of AI-powered subtitler tools that can even translate content for a myriad of languages, broadening the reach of my work.
My ability to produce accessible content has been significantly amplified with the use of these advanced AI subtitling tools.
Preparing Audio for Distribution
Before sharing your audio with the world, it’s crucial to choose the right file format for your needs and to add the finishing touches that ensure a polished final product.
Choosing the Right File Format
When I upload my audio recordings, I look for formats that preserve the quality while being widely compatible.
For most distribution purposes, especially on social media platforms or when working with a social media agency, MP3 is a popular choice due to its balance of sound quality and file size.
However, if I’m aiming for high-resolution audio, I might opt for formats like FLAC or WAV, though it’s important to note that these will result in larger file sizes.
For video content, I prefer using formats like MP4 or MOV as they are usually supported by various platforms and devices.
If I need to include subtitles or translation tracks, I’ll make sure to check compatibility with formats like MKV that can accommodate multiple subtitle streams.
File Format Options:
- Audio Only: MP3, AAC (m4a), FLAC, WAV
- Video with Audio: MP4, MOV, MKV (supports subtitles)
Adding the Finishing Touches
Before finalizing my audio for distribution, I always ensure that any background music or sound effects I use are copyright-free or I have the proper permissions to use them.
If the recordings require editing, I apply filters and equalization as needed to minimize any unwanted noise.
I also consider creating a template or using existing templates for elements that will be consistent across my productions, such as intros and outros. This saves me time and maintains a professional feel.
Lastly, checking the audio levels to avoid clipping or uneven sound is a step I never skip.
Checklist for Finishing Touches:
- Background Music/Sound Effects: Ensure they are copyright free or permitted.
- Use of Templates: Streamline production with consistent intros/outros.
- Leveling: Prevent clipping and manage audio levels for even sound.
Frequently Asked Questions
In this section, I’ll address some common concerns users face when trying to improve the audio quality of their recordings by reducing unwanted noise.
What are some effective methods for removing background noise from audio recordings?
I’ve found that using noise reduction software can be highly effective. Such tools analyze the audio for consistent noise signals and subtract them from the recording.
Additionally, recording in a controlled environment and using directional microphones can significantly minimize background noise.
Is there a way to eliminate buzzing sounds from my audio tracks?
Yes, buzzing sounds can often be removed using notch filters, which target and attenuate specific frequencies associated with the buzzing.
Also, ensuring your equipment is properly grounded and using high-quality cables can prevent this issue from occurring in the first place.
How can I clean up my recorded audio and make it sound clearer?
Equalization can be used to remove frequencies that muddy the sound, and careful use of compression can ensure that levels are consistent.
Additionally, using de-essing tools to reduce harsh sibilant sounds can greatly enhance clarity.
What strategies can I use to reduce background noise in my earphones?
Make sure your earphones have a good seal. This prevents external noise from entering. For a more active approach, consider earphones with built-in noise cancellation technology. This technology uses phase-inversion to cancel out ambient sounds.
How can I reduce microphone noise when using Windows 10?
One method is to enable the noise suppression feature in the sound settings. It’s also beneficial to update your audio drivers. Additionally, fine-tune the microphone levels by using the recording properties menu to achieve optimal audio input.
Are there techniques to filter out high-frequency noise from audio files?
High-pass filters can be applied to target and eliminate high-frequency noise. Software plugins that offer spectral editing give you precise control to isolate and remove unwanted high-frequency sounds.