Looking After Reverb Tanks: Maintenance and Care Tips
Taking care of reverb tanks is pivotal for audio enthusiasts and musicians who strive for the perfect sound in their audio equipment. Reverb tanks, particularly those based on spring reverberation, have been a staple in the music industry since their introduction in the 1930s.
They add depth and richness to sound by creating an echo effect that mimics natural reverberation. From the large units once found in radio studios to the compact versions integrated into guitar amplifiers, the evolution of reverb tanks has continually shaped the sonic landscape of modern music.

Understanding the mechanics behind these devices, like the vibrational properties of the helical springs inside, is crucial for proper care and maintenance. Furthermore, advancements in technology have facilitated various modifications that can enhance a reverb tank’s performance.
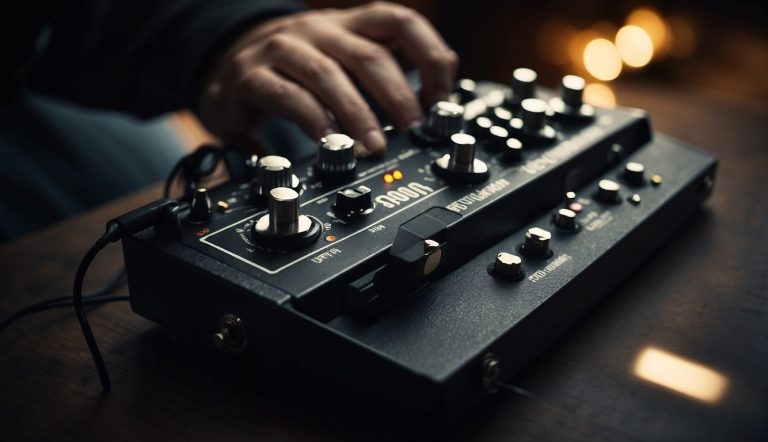
While reverb tanks can be rugged, they require careful handling and routine maintenance to prevent issues such as unwanted noise and limited reverberation. Installation involves connecting the reverb tank correctly within an audio output route and calibrating settings to achieve the desired reverb effect.
Users may occasionally need to troubleshoot issues or apply technical enhancements to improve the functionality or sonic qualities of the tank.
Key Points
- Proper knowledge and maintenance ensure the longevity and optimal performance of reverb tanks.
- Correct installation and calibration are crucial for achieving the desired sonic effects.
- Routine troubleshooting and enhancements can improve reverb tank functionality.
Table of Contents
Understanding Reverb Tanks
In my experience, reverb tanks are essential components for creating the lush reverberation effect that can enhance the depth and warmth of sound in various audio applications, particularly in guitar amplifiers.
Basic Functionality
Reverb tanks are devices used within an amplifier circuit to produce a reverberation effect. They employ a network of springs which vibrate when the sound signal is passed through them. These vibrations create echoes that, when mixed back into the original sound, yield the perception of space and depth.
Historical Development
The use of reverb tanks dates back to the golden age of electric guitar amplifiers, with companies like Fender® pioneering their integration into amplifiers. Hammond initially created reverb tanks for organs, but they quickly became a mainstay in guitar amplification, especially through the iconic Fender spring reverb introduced in the 1960s.
Design and Types
Reverb tanks come in various designs and types, each with unique characteristics to produce different reverb qualities. A commonly known type is the Accutronics 4AB3C1B, which is a 2-spring long decay tank, frequently used in vintage Fender amps. The design types include short, medium, and long decay, which refer to the duration of the reverberation effect.
Physical Characteristics
The physical characteristics of reverb tanks vary in terms of spring count, which can range from one to a maximum in commercial units of four springs, size, and orientation. Tanks are typically mounted horizontally to avoid undue stress on the springs and are often isolated from vibrations using rubber grommets.
Technical Specifications
Key technical specifications include input and output impedance, which should match the amplifier’s circuitry, and decay time, which can range from less than 2 seconds to over 4 seconds in a long decay tank. The frequency response of the tank also shapes the sound of the reverb.
Brand and Model Variations
Various brands like MOD® Reverb Tanks, Marshall™, Ampeg, and boutique amplifier manufacturers have developed their own models with distinct sound characteristics. Mesa Boogie and Crate, for example, offer tanks with unique voicings suited to their amplifiers, while MOD reverb tanks are popular aftermarket replacements offering various decay times and spring counts.
Selecting the Right Reverb Tank
In my experience, the right reverb tank can significantly enhance an amplifier’s sound. A good match involves compatibility, sound quality, and proper installation.
Compatibility Considerations
I always start by verifying compatibility between the reverb tank and the amplifier. Key details include:
- Impedance levels: I must ensure that the input and output impedances match the amp’s circuit requirements.
- Connectors: Different tanks come with different connectors. I check for compatibility with my amp’s connectors (RCA, ¼-inch, etc.).
- Locking devices: Some tanks have locking devices to prevent disconnection during transport or performance.
Sound Quality and Effect Preferences
The choice of reverb tank greatly affects the tone and the quality of the reverb effect. Here’s what I pay attention to:
- Spring Reverb Tanks: Known for their rich and warm sound, reminiscent of classic Fender and Marshall tones.
- Effects Components: Look for tanks that offer the desired balance of effects, from subtle early reflections to expansive ambience.
Amplifier and Tank Matching
A good practice that I follow is to match the reverb tank to the specific model of amplifier I use, considering:
- Brand Designations: Certain brands like MOD Tanks specifically design tanks to pair well with popular amp models like those from Marshall or Fender.
- Part Number: I use the original part number or designations whenever possible for seamless integration.
Replacement and Upgrade Options
When I need a replacement or an upgrade, I consider:
- Direct Replacement: Finding an exact model replacement to maintain the original tone.
- Upgrade Potential: Exploring higher-quality tanks that might offer superior durability or a different tonal characteristic.
Installation Factors
Finally, proper installation is vital. I follow these guidelines:
- Mounting Considerations: I make sure the tank is mounted securely, with no risk of rattling or movement that might affect tone or damage the transducer.
- Reverb Tank Bag: For extra protection, especially in rugged touring conditions, I consider housing the tank in a reverb tank bag.
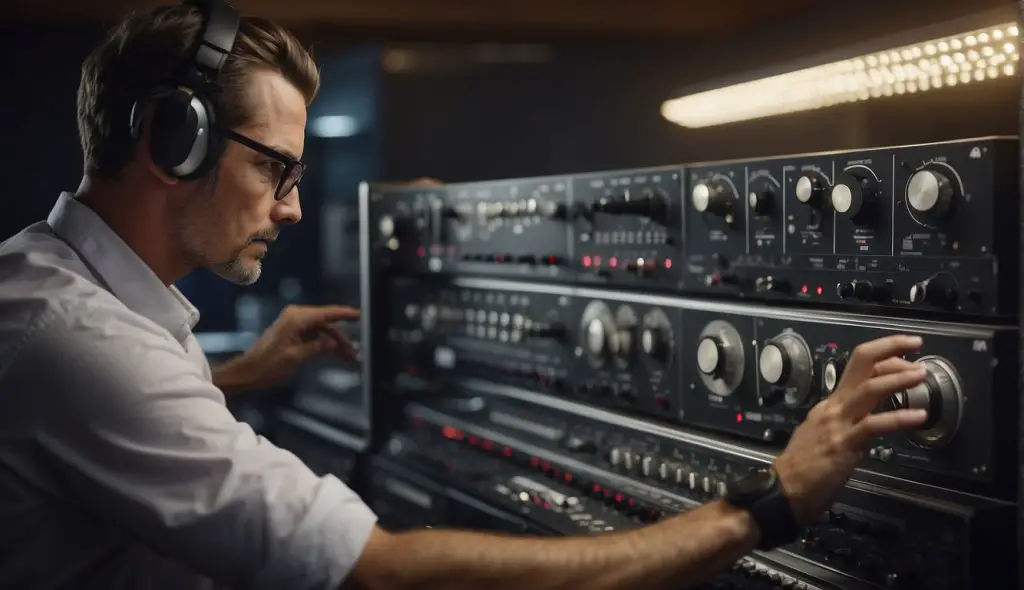
Connecting and Installing Reverb Tanks
When integrating a reverb tank into your audio setup, it’s essential to get the wiring and connectors right, ensure proper mounting for optimal sound, and optimize the signal chain for maximum effect.
Wiring and Connectors
My first step in setting up a reverb tank focuses on making the proper connections. I ensure that the input and output transducers of the tank are connected correctly. Input typically uses an RCA connector or a mono 1/4 inch jack, depending on my tank’s design. The output commonly matches the input connector type for continuity. I pay close attention to the impedances to avoid mismatching, as this can greatly affect the sound and potentially damage the tank or the amplifier.
For tanks requiring a reverb driver, I ensure that a proper reverb transformer is wired in to match impedances accurately. I use high-quality cables and connectors to minimize noise and signal loss.
Mounting and Orientation
Properly mounting the reverb tank is crucial for its longevity and performance. I mount the tank horizontally, adhering to the mounting plane indicated by the manufacturer, to optimize the effects. I verify that the tank is secured with screws through rubber grommets or similar shock-absorbing materials to reduce vibrations and microphonics.
The orientation is also vital; a tank oriented incorrectly can experience sound issues or physical damage. To prevent this, I ensure that the tank’s connectors face downward to minimize stress on the solder joints and prevent dust from collecting on the circuit.
Optimizing Signal Chains
I meticulously arrange effects and amplifiers in my signal chain for the best audio experience. I consider the tank’s position in relation to other effects—it’s often placed after distortion units and before any time-based effects like delays. This allows the reverb to process a cleaner signal, which translates to a more natural and spacious sound. I incorporate resistors and other circuit components as necessary to balance levels and match the signal to the rest of my chain.
By thoroughly considering these elements when connecting and installing my reverb tank, I ensure that it operates optimally, delivering the lush, spacious effects that reverb is known for, without unnecessary noise or equipment strain.
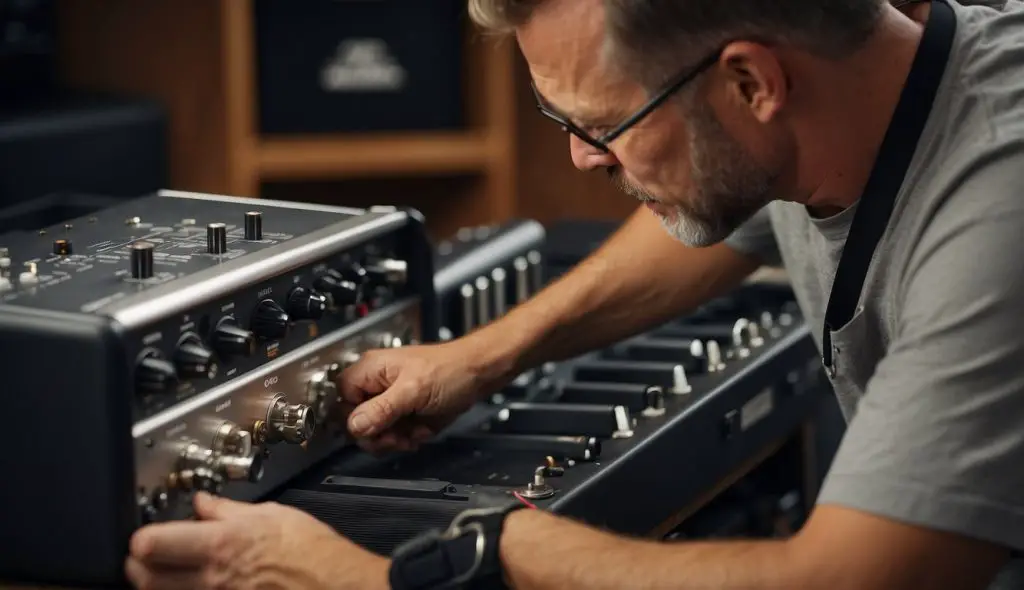
Maintaining and Troubleshooting
In my experience with reverb tanks, I’ve found that regular maintenance can prevent most issues. When problems arise, knowing how to troubleshoot common issues is crucial. Knowing when to replace parts is also important to maintaining the integrity of your reverb tank.
Regular Maintenance
I always start my regular maintenance by checking for loose components and securely fastening them to avoid unwanted vibrations and noise. I make it a point to inspect the springs in the reverb tank as they are essential for the decay length of the reverb. If they become kinked or corroded, the sound quality can be severely affected. It’s vital to handle the springs with care to prevent any distortion in the output.
Common Issues and Solutions
Noise: If I detect excessive noise or hum, my first step is to investigate the input and output connections for any loose jacks or wires. These connections can become loose over time, which leads to grounding issues.
- Vibration Sensitivity: Movement and external vibration can cause the springs within the tank to generate unintentional reverb. To mitigate this, I ensure that the tank is mounted on a sturdy surface and that it’s framed with rubber grommets to dampen any extraneous vibrations.
- Weak Signal: If I notice the reverb effect is weak, I check the transducers on either end of the tank. These transducers convert electrical signals into mechanical energy within the springs, and vice versa. It’s critical that they function correctly for optimal sound reproduction.
Replacement Parts and Repair
When it comes to replacing parts, I make certain to find the correct part number for compatibility with the existing hardware. Reverb tanks have specific requirements based on their design, and using the wrong part can lead to more issues down the line.
Springs and Transducers:
- Springs: If a spring is damaged, I replace it with the exact same type to maintain the integrity of the sound. Each reverb tank has springs that are calibrated for a specific decay length and tonal quality.
- Transducers: Should a transducer fail, I replace it immediately as it is a critical component for converting the sound signal.
By keeping up with regular maintenance and knowing how to troubleshoot the common issues, I can ensure a reverb tank continues to operate effectively. When it’s time for repairs, using the right replacement parts is just as crucial.
Technical Enhancements and Modifications
In the realm of audio engineering, the reverb tank plays a crucial role in shaping the sound of electric guitars and other instruments. With a variety of modifications and technical enhancements available, I can customize reverb characteristics, upgrade components, or engage in custom builds and experimentation to meet specific sonic requirements.
Modifying Reverb Characteristics
I can change the reverb characteristics by adjusting the delay time and decay length. Fender and Marshall units, for instance, can be tweaked to provide a specific tone or effect. Modifying the output impedance or the size of the reverb tank also affects the sound. I might install a larger tank for a deeper, more expansive reverb or a smaller one for a more restrained effect.
- Delay Time: Can be short for a tight room sound or extended for a larger hall effect.
- Decay Length: Alterations affect how long the reverb tail lasts, impacting the perceived size of the space.
Upgrading Components
When upgrading components in a reverb tank, my focus is on parts like transducers, reverb transformers, and springs which govern the overall quality and character of the reverb effect. For instance, by selecting premium springs or connectors, I enhance both the reliability and audio fidelity. Swapping an old reverb transformer with a higher-grade counterpart can yield cleaner, more articulate reverberations.
- Transducers: Ensure they match the desired tone and performance standards.
- Reverb Transformer: Choose quality to improve the signal path and reduce noise.
Custom Builds and Experimentation
Engaging in custom builds and experimentation opens up new possibilities. I might design a reverb unit from scratch tailored to specific amplifiers or seek out boutique solutions like Mod® reverb tanks recognized for their unique characteristics. When working with boutique amplifiers, integrating a custom-spec reverb tank ensures that I preserve the amplifier’s original qualities while imparting a new dimension to its sound.
- Identify amp specifications: Assess the compatibility with various reverb tank designations.
- Experiment with different spring counts and types for novel reverb textures.
Using the confidence borne of my experience and knowledge, I ensure every modification or enhancement is executed with precision, maintaining neutrality towards brand preferences, and focusing instead on achieving the desired sound profiles and technical requirements.
Frequently Asked Questions
In this section, I’ll address some of the most common questions regarding the care and maintenance of reverb tanks.
How can I tell if my reverb tank needs replacement or repair?
If you notice a significant reduction in the reverb effect, strange noises, or no effect at all when the reverb is engaged, it’s likely that the reverb tank may need repair or replacement.
What steps should I take to properly isolate a reverb tank and prevent damage?
To isolate a reverb tank, I suggest mounting it on a firm surface using rubber grommets or foam padding to minimize vibrations and impacts. Always keep the tank away from strong magnetic fields and moisture, as these can cause damage.
Are reverb tanks interchangeable, or must they be matched to specific amplifiers?
Reverb tanks are not universally interchangeable. Matching a reverb tank to a specific amplifier is important since impedance levels and the number of springs can vary. Check the manufacturer’s specifications for compatibility.
What maintenance practices are recommended for preserving the quality of a spring reverb unit?
Regular dusting and keeping the unit dry are essential maintenance practices. It’s also a good idea to inspect the connections periodically and ensure no loose parts are present in the spring reverb unit.
Is it possible to build a DIY reverb tank driver, and what are the benefits?
Building a DIY reverb tank driver is possible, and it can offer benefits such as customization to specific needs and potentially lower costs. Understanding electronics and safety precautions are crucial before undertaking such a project.
What are common issues to look out for in both new and old spring reverb tanks?
Common issues include loose or corroded input/output connections, damaged springs, excessive hum, or buzz in the signal, and physical deterioration of the tank itself. Regular inspections can help detect these problems early.