
How to Use Artificial Reverbs: Enhancing Your Audio Mixes
Artificial reverbs have become an essential tool in modern sound engineering. They offer a vast array of possibilities in creating depth and atmosphere in music production.
They have the capability to mimic the natural reverberation of different spaces. This is crucial for the spatial aspect of a mix.

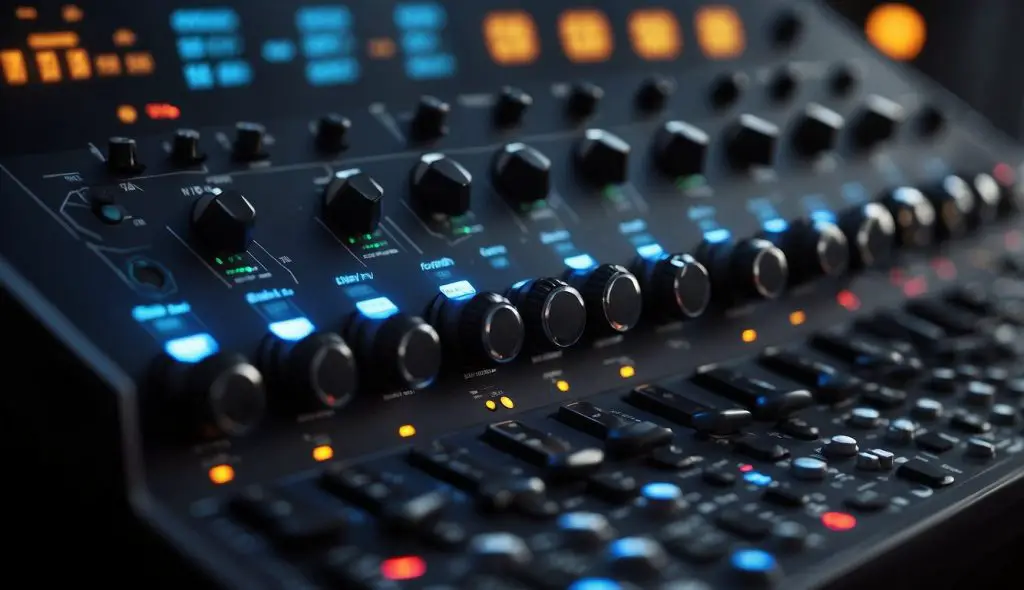
Artificial reverbs can mimic the sound of anything from a small room to a large hall. The technology behind these tools has evolved significantly. This evolution allows for a high degree of control over various parameters. This enables producers and engineers to shape the reverb to suit the creative intent of the project.
Incorporating reverb into your mix requires a nuanced understanding of the effect. The key is to balance the artificial reverb with the natural dynamics and sonic qualities of the original recordings.
This includes deciding on the right type of reverb for a particular sound. You also have to adjust decay times to match the tempo and rhythm. Lastly, you need to use pre-delay to ensure clarity and prevent washing out the original sound.
Key Points
- Artificial reverb is a versatile tool that allows for the emulation of various spaces in music production.
- The effective use of reverb in a mix is crucial for maintaining clarity while adding depth and atmosphere.
- Understanding reverb parameters and how they impact sound is key to achieving a polished and professional mix.
Table of Contents
Things You HAVE To Know About Artificial Reverb
When diving into the world of artificial reverb, I always consider how it shapes the atmosphere of a track, the variety of reverb types available, their characteristics like decay times and tails, and the simulation of different spaces.
The Role of Reverb in Music Production
Reverb is essential in music production as it gives a sense of space to sound, bringing it to life within a mix. By using artificial reverb, I can create an emotional context, simulating everything from a cozy room to an expansive hall. This layer of depth can turn a flat recording into an immersive auditory experience.
Different Types of Artificial Reverbs
Artificial reverbs come in several types, each with its own texture and application.
- Spring Reverb: Known for its twangy and distinctive sound, often found in guitar amps.
- Plate Reverb: Produces a smooth decay by vibrating a large sheet of metal, popular in vintage recordings.
- Digital Reverb: Uses algorithms to simulate space, offering versatility and control over various parameters.
- Convolution Reverb: Employs actual space impulse responses for realistic emulation.
- Hall, Chamber Reverb: Tailored to emulate the reverberations of concert halls and chambers, respectively, providing lush and expansive tails.
Decay Times and Reverb Tails
Decay time and reverb tails are crucial parameters. The decay time refers to how long it takes for the reverb to fade out, while the reverb tail describes the end portion of the reverb sound.
- Short Decay: Ideal for small rooms or subtle ambiance.
- Long Decay: Best for emulating large spaces or creating a dramatic effect.
The Importance of Room Size and Space Simulation
The room size and space simulation are vital components in crafting the desired reverb effect. By manipulating the perceived size of the room, I can convey intimacy or grandeur. Here’s a quick breakdown:
- Small Room: It gives a tighter and more immediate reverberation, perfect for intimate vocals or instruments.
- Large Space: Offers a vast and distant reverb that can make sounds appear farther away or larger than life.
How to Incorporate Reverb into Your Mix
Reverbs can dramatically enrich the sound in your mix when used with precision. I’ll guide you through the steps to achieve a balanced, clear, and spacious mix using different reverb techniques.
Balancing Dry and Wet Signals
The first step is to find the right balance between the dry (original) and wet (reverb-affected) signals.
For vocals, a subtle blend often works best, using 10-30% reverb in relation to the dry signal. When mixing instruments like a snare drum, the wet signal might be increased slightly to enhance the effect without muddying the mix.
EQing Reverb for Clarity
To maintain clarity, I often apply an EQ to the reverb send.
A high-pass filter starting around 100-200 Hz can prevent low-end muddiness. Meanwhile, a slight dip in the mid frequencies can ensure vocals stay clear.
It helps to think about which frequencies you want the reverb effect to enhance, and then EQ accordingly.
Using Pre-Delay to Separate the Initial Sound from the Reverb
Adding pre-delay to your reverb can separate the initial sound from the reverb tail, especially useful for vocals and snare hits.
I tend to set a short pre-delay of 20-50 ms for a natural sound or lengthen it for a more dramatic separation. This technique helps the original sound stay distinct and impactful.
Creating Depth and Dimension with Stereo and Density
Finally, I create depth and dimension by manipulating the stereo field and density of the reverb.
For a wider stereo image, I might use a stereo reverb with different settings for the left and right channels. To increase depth, altering the reverb density so that it’s lighter for background instruments and denser for elements I want to feel closer can be effective. This careful balancing act contributes significantly to the overall spatial impression of the reverb mix.
My Favorite Advanced Reverb Techniques
When I’m mixing, I love to explore the potential of artificial reverbs to breathe life into tracks. The techniques I’m about to share can enhance the dynamic flow, add rich textures, and ensure that vocals and instruments sit perfectly in the mix.
The Use of Automation for Dynamic Reverb Changes
One of my go-to strategies is to automate reverb parameters. It allows for reverb intensity to change throughout a song, akin to how sound waves interact in a physical space.
I typically automate the dry/wet mix or decay times. This way, I can subtly ramp them up for a soaring chorus or dial them back during a verse to create contrast and maintain listener interest.
Layering Reverbs for Complex Textures
Layering different reverb plugins creates a unique texture that can be so much more than the sum of its parts. Here’s how I approach it:
| Step | Action | Purpose |
|---|---|---|
| Step 1 | Choose two distinct reverb types | To combine different spatial characteristics. |
| Step 2 | Adjust the decay time of each independently | To create a complex tail that evolves over time. |
| Step 3 | Balance the levels | To blend them in a way that feels natural and not overpowering. |
Doing this, I’ve found that even the simplest sounds can gain a certain depth and sophistication.
Tailoring Reverb for Vocals and Instruments
Vocals and different instruments require a tailored approach to reverb:
- Vocals usually benefit from a reverb that has a smooth tail and doesn’t muddy the lyrics. I often use a plate reverb with a medium decay time and sometimes add a pre-delay to keep the clarity of the initial vocal attack.
- For instruments, I match the reverb to their role in the mix:
- Lead instruments might get a longer decay time to stand out.
- Rhythm instruments typically receive shorter, more subtle reverb to sit comfortably in the background without washing out the mix.
Reverb Plugins and Hardware – Things to Think About

When I’m working with artificial reverbs, selecting the proper tool and tweaking it just right can transform a flat recording into a sonic masterpiece that simulates realistic spaces or creates otherworldly ambiences.
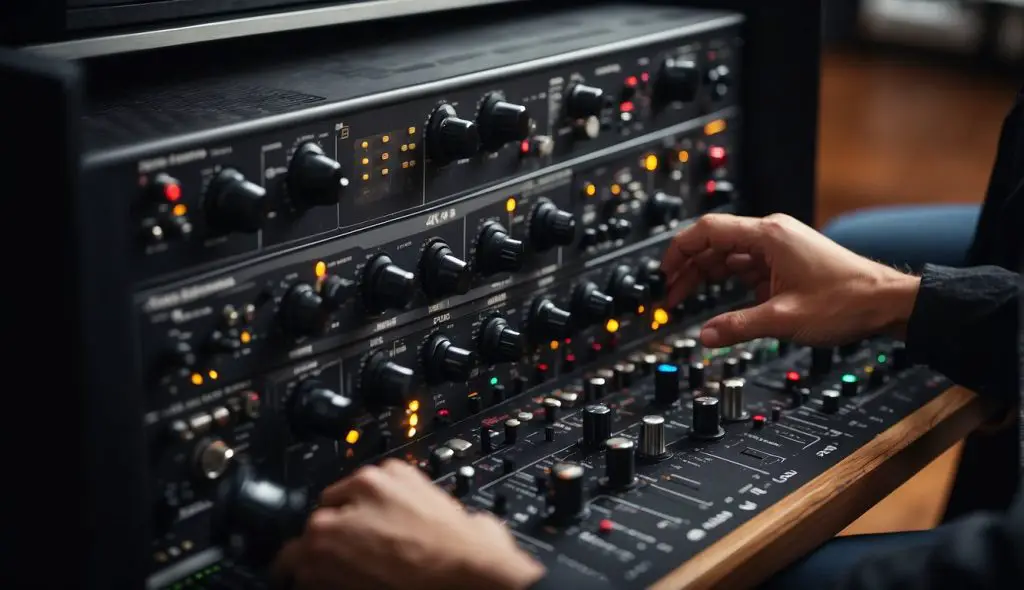
Choosing the Right Reverb Plugin or Hardware
I always consider four main factors when selecting a reverb plugin or hardware piece for my music production:
- Type of Reverb: I decide between digital reverbs and convolution reverbs. Digital reverbs are incredibly versatile, while convolution reverbs provide realistic emulations of real acoustic spaces.
- Plugin/Hardware Compatibility: Whether it’s for my Digital Audio Workstation (DAW) or outboard gear, I check the compatibility. It’s a waste of time if I can’t integrate it smoothly into my existing setup.
- Features and Functionality: Some plugins or hardware offer unique features, like the ability to mold reverb tails or emulate famous hardware units. I assess what’s necessary for my recording.
- Budget: I balance the quality of the reverb and the cost, knowing expensive plugins and hardware aren’t always better. Sometimes, less expensive options offer surprisingly high-value.
Adjusting Reverb Parameters for the Desired Effect
When I’m dialing in artificial reverbs, I manipulate key parameters to achieve the perfect ambiance for my track. Here’s what I typically focus on:
- Pre-delay and Decay Time: I adjust these based on the tempo of the piece and the size of the imagined space. A longer pre-delay can suggest a more expansive acoustic space.
- Wet/Dry Mix: I set this carefully to blend the effect into the track without overwhelming the original sound—too much reverb can drown out my mix.
- Tone and EQ of the Reverb: I tweak the high and low frequencies to sit the reverb nicely within the mix or to emulate a specific reflective room.
- Reverb Density and Diffusion: For a more natural effect, I adjust the density and diffusion to control how the reverb tail builds up and decays.
Understanding the Acoustic Properties of Reverb Hardware
Reverb hardware isn’t just about how it sounds, but also about how it interacts with the reflective properties of my studio recording space. I consider the following:
- Hardware True Bypass: Ensures the clean signal path isn’t colored when the reverb isn’t engaged.
- Room Acoustics: The natural reverberation of my room can influence how the hardware reverb sounds. I may need to adjust settings to compensate for room anomalies.
- Integration with Other Gear: I ensure the hardware plays nicely with other components in my signal chain. I consider the I/O options and whether the reverb can be modified via external controllers or pedals.
Frequently Asked Questions
Artificial reverbs can add depth and space to vocals, enhancing the overall sound. Here, I’ll address some common queries to help you make the most of reverb effects.
How can I apply reverb to live vocal performances?
To apply reverb to live vocals, I ensure there’s an effects processor or software that supports real-time processing. Then, I connect the microphone to this processor and adjust the reverb parameters according to the live environment’s acoustics.
What are some effective reverb settings for mixing vocals?
I often start with a moderate reverb time of 1.5 to 3 seconds for vocals. I also make sure the pre-delay is set around 100 ms to keep the vocals clear. Then, I adjust the wet/dry mix to taste, without letting the reverb overpower the vocal.
Which type of reverb best complements vocals in a recording?
Plate reverb often complements vocals well by adding a smooth decay that enhances without muddling the clarity. I choose this type for a silky and lush vocal presence in the mix.
What techniques help prevent using too much reverb in a mix?
To prevent overuse, I start with a small amount of reverb and gradually increase it until it blends naturally. I also consider using an equalizer to roll off low frequencies from the reverb return to avoid muddiness.
How do I properly insert a reverb effect into my audio track?
I insert a reverb effect by adding an effects track (auxiliary send) in my digital audio workstation and routing the vocal track to it. This allows me to control the amount of reverb independently from the direct vocal signal.
Can you provide examples of using artificial reverb in music production?
Sure! I often use a hall reverb to emulate a large space in orchestral music. I also use a shorter room reverb for a tighter sound in pop and rock vocals.
Sometimes, I layer different reverbs for a complex and innovative effect that suits the song’s mood.