Building a Guitar Pedal is now EASY!!!
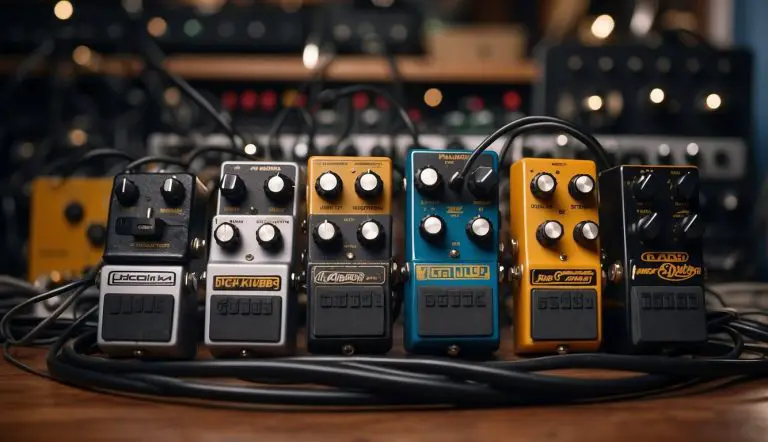
To alter the sound of an electronic guitar, you need guitar pedals, also known as stomp boxes. They are famous for creating sound effects such as wah-wah, delay, tremolo, distortion or fuzz. They also help in controlling volume, equalization and modifying the tone of the guitar. Choosing the perfect pedal for your guitar and knowing how to use it are of equal importance. Since there is a variety of guitar pedals available today, selecting the right one becomes difficult. So, we will provide you with a buying guide explaining the parameters to look for buying a good guitar pedal. Also, buying it may cost you a lot of bucks and considering this, we will also teach you to build your own guitar pedal!

Photo Source: https://www.youtube.com/watch?v=Vi7lyWQ6K8Y
What happened if…
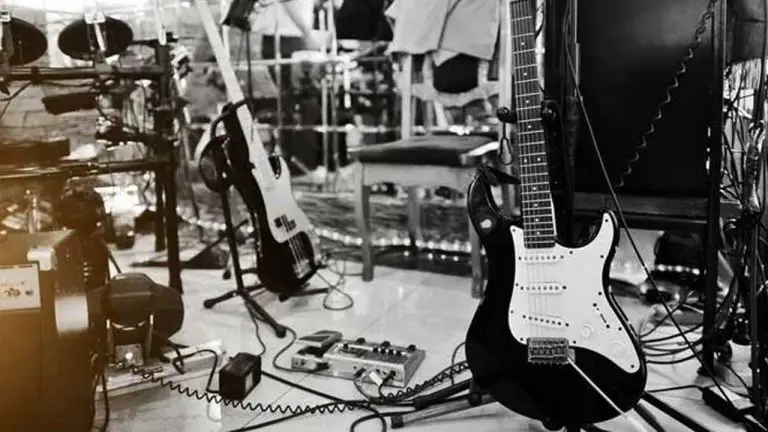
Wrong installation of a guitar pedal might lead to problems in the sound quality of the guitar. For example, using the wrong power supply may cause noise and hum and it may damage the guitar eventually! Also, one must not use cheap quality cables or solderless cables. These cables will fail in their purpose and it will also take a lot of time to find the shortest one among them. So, it is advisable to buy cables that are of the proper length and also to solder them before use.
So here’s a DIY guide for building your own guitar pedal:
Step 1 – Assembling all the components
All the components must be assembled at the first step. The different things that you need are soldering iron, thin solder, blank PCB board, iron (preferably a column drill), a drill with a small head, printing arrangements, photo paper, plastic or glass trays, stereo and mono jack input and a 3DPT footswitch button. You will also need a thin wire and a case to keep the pedal after it is made.
Step 2 – Imprinting the Layout
Print the layout on the glossy photo paper using a laser printer. Then, clean the copper PCB board, place the layout over it and heat up the iron. After it has been heated up to the desired temperature, you need to keep the heated iron over the layout resting on the board. Once the toner has been transferred to the board, you must remove the copper board and paper carefully.
Step 3 – Etching

Photo Source: http://www.effectsbay.com/2009/12/d-i-y-at-home-acid-etching
You need two containers filled with Ammonium Persulphate (at 50-80 degree Celcius) and hot water. Place the etchant on the tray. Once the etching is done, the container having hot water can be used to keep the product warm. After all the copper disappears, the etchant should be removed using hot water. One should be very careful while performing this step and take the necessary precautions.
Step 4 – Drilling
Now, it is the time to drill the holes in the board. The drill should be as thin as possible. Never change the direction while drilling. Just keep drilling straight.
Step 5 – Soldering
In this step you need to heat each component and melt the iron against it. First place all the components on the board and then solder them as neatly as possible since larger blobs will not only make your board dirty but also lead to a short circuit.
Step 6 – Offboard Wiring
Now that the onboard part is ready, let us move on to the off-board part, stomp switches and inputs. Use good wiring layouts to avoid mistakes. While soldering wires into the 3DPT switch begin with the middle one to save time.

Photo Source: http://effectslayouts.blogspot.com/p/general-layout-notes.html
Step 7 – Casing
The final step is to case the whole product. It is advisable to use wires of the smallest possible length. You need to find some drills that go well with the widths of the pod shafts and stomp switch.
Step 8 – Troubleshooting in case of problems
If you feel that there are problems with your product, you must go for some troubleshooting. Make sure that the input and ground wires are not mixed in the offboard part. Then check whether the solders are silvery and neat and also check the voltages at the different points in the circuit using a multi-meter.
And you are done!!!
Congratulations! You have now built a guitar pedal on your own in the easiest way possible. For those who do not have the required patience and time, there’s a wide array of guitar pedals available in the market.
How to choose a good guitar pedal?
There are some parameters which you should choose the ideal guitar pedal in the market. They are:
- Realistic Models: The models should be realistic ones and should closely resemble the gears on which they are based.
- Presets: The guitar pedals must come with presets. A preset is a complete package of different effects that help in creating a better sound. While filtering guitar pedals you should go for the ones which possess presets that will not require you to create your own.
- Wah Versatility: The pedal should be such that by moving your foot back and forth on the pedal you must be able to change the tone of your music.
- Construction: The pedal must have a strong construction and durable for years.
- Potentiometer: There must be a potentiometer for producing an instant wah sound.
- Requirements: The model you choose should only require a battery or adapter and nothing else to function. If the model requires additional equipments and parts, it will become difficult for you to install it.
- Multi effects: Most guitar pedals today come with multi effects and you must keep this in mind while choosing the one for yourself.
After you have followed the DIY steps to build your guitar pedal or bought one from the market, make sure that it is installed in the right way. Now let your guitar set the stage on fire with it!