Top Tips for Better Equalization: The Best Techniques for Improved Sound Balance
Equalization, commonly known as EQ, is the process of adjusting the balance between frequency components within an audio signal. As a subtle and intricate tool, it’s a crucial part of audio production that can dramatically affect the final sound.
Understanding the basics of equalization is essential for anyone looking to improve their mixes. By learning the ropes of EQ, you can enhance clarity, define instrument separation, and create a balanced mix.
The goal of equalization is to sculpt your music in a way that helps each element to find its place in the mix, making sure that all the parts come together harmoniously.

When applying EQ techniques, it’s important to approach them with both a technical understanding of how the tools work and a creative mindset of what you’re trying to achieve.
Equalization requires active listening and making incremental changes, allowing the natural characteristics of the instruments and vocals to shine through.
Whether you’re dealing with muddiness in your mix or striving for more definition, effective EQ can often be the key to a polished and professional sound.
Over time, I’ve come to realize that EQ isn’t just about boosting or cutting frequencies; it’s about understanding how these changes will translate across different sound systems and listening environments.
Key Points
- Equalization is a vital skill for modifying the balance between frequencies in an audio signal.
- Learning and applying EQ techniques can improve clarity and balance in a mix.
- EQ adjustments should be made with attention to how the mix sounds across various playback systems.
Table of Contents
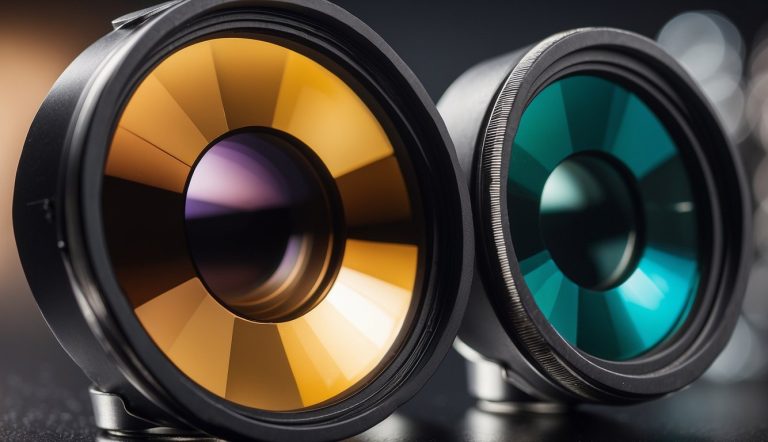
Equalization – The Basics You Need To Know
In the realm of audio, mastering the art of equalization (EQ) is crucial for shaping sound. It’s about balancing the frequency spectrum and enhancing the listening experience.
Understanding EQ and Frequency Bands
EQ allows me to modify the amplitude of audio signals at particular frequencies. This control over frequency bands can dramatically affect the timbre and clarity of sound.
Frequency bands are typically split into:
- Low (Bass): From 20 Hz to 250 Hz, this band adds depth and body to the sound.
- Midrange: Split into two sections—Lower Midrange (250 Hz to 500 Hz), which gives warmth, and Upper Midrange (500 Hz to 2 kHz), where the vocal presence typically sits.
- High (Treble): From 2 kHz upwards, affecting the sharpness and detail of the sound.
Utilizing EQ involves targeting these bands to enhance or diminish specific aspects of the sound.
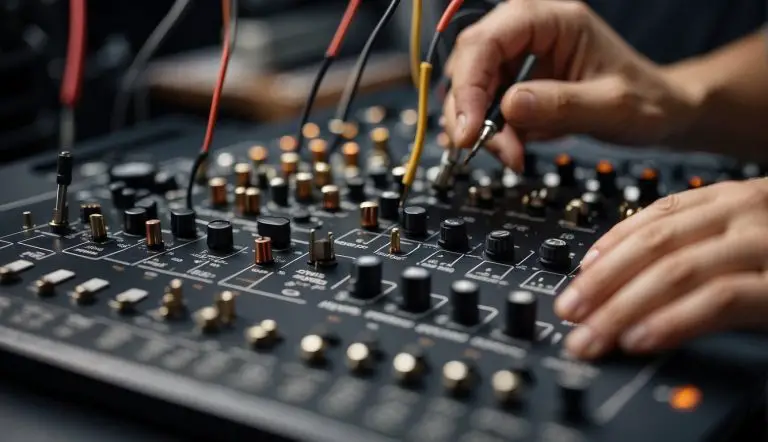
What Are The Different Types of Equalizers?
When it comes to types of equalizers, here are a few fundamentals:
- Graphic EQ: This type consists of fixed frequency bands and provides sliders for each band to cut or boost levels, offering a visual representation of the EQ adjustments.
- Parametric EQ: It offers precise control where I can adjust the frequency, gain, and Q settings or bandwidth—the width of the frequency band being affected. A tighter Q focuses on a smaller range of frequencies, while a wider Q affects a broader area.
- Shelving EQ: Rather than targeting a specific frequency, shelving EQ boosts or cuts all frequencies beyond a certain point, which is useful for adjusting the ‘edges’ of the sound spectrum—the very high or low ends.
- Peaking/Bell EQ: This kind adjusts a range of frequencies around a central point, which can boost or cut as needed using the Q to define the range’s breadth.
A proper equalization strategy requires an understanding of the role each frequency range plays in the overall sound, as well as being knowledgeable about when and how to manipulate these frequencies using different types of equalizers.
EQ Techniques for Clarity and Balance
Equalization (EQ) is a crucial tool in my audio engineering arsenal to achieve clarity and balance in a mix. By manipulating EQ, I can enhance details, eliminate competition among instruments, and create a harmonious blend.
Using EQ to Cut and Boost
When I approach EQ, my mindset revolves around two primary actions: cutting and boosting frequencies.
To amplify the presence of a track, I may boost certain frequencies, which involves increasing the gain at select frequencies on an EQ band; this can add vibrance and presence to sounds that need to stand out.
Conversely, cutting, or reducing the gain at specified frequencies, can remove unwanted noise or reduce frequencies where there is too much energy, leading to a cleaner mix. Here’s a simple approach I use:
- Boosting: I slightly increase the gain (in decibels) at the frequency I want to enhance using a knob or slider on the EQ. I listen carefully to avoid overemphasis, which can lead to harshness or distortion.
- Cutting: I judiciously cut frequencies to reduce muddiness or conflict, often no more than a few decibels to maintain the integrity of the original sound.
The Art of Subtractive EQ
My philosophy often favors subtractive EQ, the practice of cutting frequencies rather than boosting. This technique promotes a more natural sound, allowing me to carve out space in the mix for each element to breathe.
By removing unwanted frequencies, I can even prevent the need to increase the overall gain, subsequently avoiding potential clipping and ensuring a balanced mix. A few strategies I employ are:
- Identify the competing frequencies where instruments clash and gently reduce those ranges.
- Use high-pass filters (HPF) strategically to eliminate low-end rumble that can muddy the overall sound.
Sculpting the Frequency Spectrum
Sculpting the frequency spectrum is a fine art that involves shaping the entire range of sounds in a mix to achieve a balanced output. I meticulously analyze each track, identifying which frequencies need to be adjusted to allow every element its own sonic space. My approach typically includes:
- Broad Adjustments: For a balanced mix, I make broader EQ adjustments to shape the overall sound without compromising the natural character of the recording.
- Focused Adjustments: I use narrower frequency sweeps to address specific issues or to bring an element to the forefront with enhanced clarity.
Instrument and Vocal Equalization – How Is It Done?
Equalizing instruments and vocals is a delicate and crucial step in the production process to ensure that each element of a mix is distinct and contributes to the overall sound. I’ll guide you through specific techniques for drums and bass, and how to make vocals and guitars stand out.
Equalizing Drums and Bass
When I equalize the kick drum, my focus is on the low-end frequencies where the body of the sound resides. I typically start by finding the fundamental frequency of the kick drum and enhance it slightly to add punch. I also pay attention to the mid-range frequencies to control the boxiness and increase the definition if needed.
| Frequency Range | Adjustment | Purpose |
|---|---|---|
| 50-100 Hz | Boost | Add fullness to the kick drum |
| 250-500 Hz | Cut | Reduce boxiness and emphasize clarity |
| 2-4 kHz | Slight boost | Bring out the attack of the beater |
For the bass, harmony and warmth are important, so I balance the low-mid frequencies while avoiding clashes with the kick drum. A slight boost around the harmonic content lets the bass line sing a bit more in the mix.
| Frequency Range | Adjustment | Purpose |
|---|---|---|
| 80-200 Hz | Boost/Cut | Balance warmth without muddying the kick |
| 400-800 Hz | Cut | Clarify the bass and reduce muddiness |
| 700-1 kHz | Boost | Highlight harmonic overtones |
Bringing Vocals and Guitars to Life
For vocals, clarity and presence are my priorities. I typically start with a high-pass filter to remove low-frequency rumble, which isn’t necessary for most vocals. Then, I carve out space around 1 kHz to 4 kHz to allow the vocal’s natural overtones to shine through, enhancing intelligibility.
| Frequency Range | Adjustment | Purpose |
|---|---|---|
| Below 80 Hz | High-pass filter | Remove unnecessary low-end |
| 1-4 kHz | Boost | Increase presence and clarity |
The guitars, whether acoustic or electric, need to sit well with the vocals. I ensure that I carve out frequencies in the guitar’s EQ to allow the vocals to cut through. For electric guitars, I may emphasize the higher mids to give them a sharp edge, while for acoustic guitars, I manage the lower mids to prevent muddiness and maintain the body of the instrument.
| Frequency Range | Adjustment | Purpose |
|---|---|---|
| 150-300 Hz | Cut | Reduce muddiness and maintain body |
| 2-6 kHz | Boost | Increase definition and let it cut through mix |
Advanced EQ Settings
In the realm of music production, EQ is a vital tool for sculpting the sonic character of a track. Understanding how to configure advanced settings is crucial for achieving clarity and balance in both mixing and mastering processes.
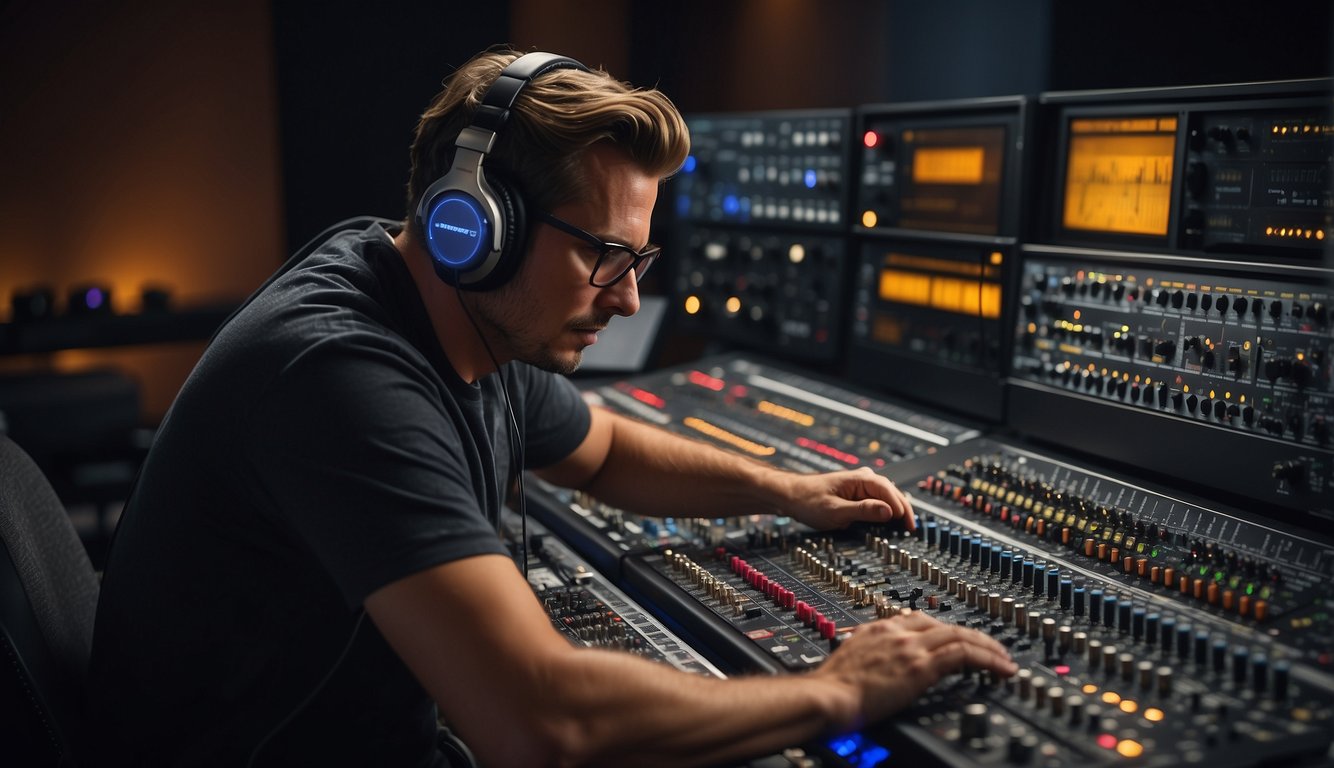
Setting EQ for Mixing and Mastering
When setting EQ for mixing and mastering, I typically begin with parametric EQ due to its precise control over frequency, gain, and Q factor. This is particularly useful for tackling specific problem areas in a mix.
For instance, I might use a high-pass filter to remove unwanted low-frequency rumble from vocal tracks, allowing me to increase clarity without affecting the core tonality.
Mixing:
- High-Pass Filter: Applied to non-bass tracks to reduce muddiness.
- Notch Filter: To attenuate problematic frequencies that cause clashes.
- Boost/Cut: Gentle boosts for presence or cuts to create space for other instruments.
Mastering:
- Broad Adjustments: Subtle shelving filters to enhance or diminish certain frequency ranges.
- Preservation: Aim to retain the mix’s original balance while enhancing overall tonality.
Here is my go-to strategy for using EQ during mixing and mastering:
- Identify and remove unnecessary frequencies with high-pass and low-pass filters.
- Use narrow Q values to surgically remove offending frequencies, such as those that cause resonance.
- Apply broader Q values for gentle sculpting, ensuring musicality and natural sound.
- Constantly A/B compare the processed signal with the unprocessed to avoid over-EQing.
Optimizing EQ for Different Playback Systems
When optimizing EQ settings for various playback systems, it is essential to understand the typical frequency responses of those systems.
For instance, a car audio system may have an accentuated low-end compared to studio monitors. To optimize for different systems, I start with a flat EQ setting and make incremental adjustments while referencing the material on various systems.
General Tips:
- Apply slight cuts in the low-mid frequencies to prevent boominess on smaller speakers.
- Consider the addition of a slight high-frequency boost to compensate for the dullness on non-studio playback devices.
Here’s a simple approach I follow:
- Begin with a flat EQ curve and listen to your mix on the target playback system.
- Make note of any frequencies that feel too pronounced or too recessed.
- Adjust levels specifically with these observations in mind, using both graphic EQ for broader adjustments and parametric EQ for finer tweaking.
- Keep iterations of these adjustments to ensure the mix translates well across different systems.
Technical Considerations

When I approach equalization, my primary goal is to balance the frequency content of a track or mix while preserving the intended sonic character. To achieve this, I judiciously manage several key aspects:
Frequency Spectrum
- Bass: I ensure that the low end remains tight without muddying the mix. Boosting here can add warmth but requires caution to avoid overwhelming mid frequencies.
- Mid: I pay attention to the midrange as it carries the bulk of harmonic content, affecting the perceived clarity and presence of a mix.
- Treble: I handle treble carefully, as too much boost can introduce undue harshness or sibilance.
EQ Parameters
- Q: I select the Q value, which defines the bandwidth of equalization, to surgically alter frequencies without affecting too much of the surrounding content.
- Bell: I often use bell curves for tackling specific issues or shaping tonality, allowing precise adjustments.
- Sweep: I employ a sweeping technique to identify and rectify problem frequencies, ensuring a clean outcome.
Dynamic Range
- Headroom: Before I apply equalization, I check the headroom to prevent clipping post-EQ.
- Compression: I occasionally employ compression before EQ to stabilize dynamic range, which can result in more consistent equalization.
Distortion
I am careful to avoid inducing distortion through excessive boosting, especially in digital equalizers which can be less forgiving than their analog counterparts.