
How To Use A Guitar Amplifier Without Guesswork
Getting sound out of a guitar amp for the first time seems simple—until you’re standing there, staring at six knobs and wondering what to do next. I’ve been in that spot, and I’ve seen plenty of new players make the same missteps that lead to bad tone, loud pops, or just plain silence.

Here’s the thing: using a guitar amp well really comes down to a few key habits. Connect everything in the right order, start with the preamp controls, and tweak things gently instead of wildly turning knobs.
Once you get that, dialing in a good tone actually gets pretty easy. This guide covers every practical step I use, from grabbing the right cable to fixing the most common problems.
It’s meant for players who want to get a usable sound fast and build from there.
What You Need Before You Switch Anything On
Before I even touch the power switch, I make sure I’ve got the right gear in hand. Messing this up wastes time and can actually wreck your gear.
Know your amp type first. There are three main types: tube amps (sometimes called valve amps), solid-state amps, and modeling amps.
Tube amps need a minute or two to warm up. Solid-state and modeling amps are ready as soon as you flip the switch. Most practice amps for beginners are solid-state, so setup is usually easier.
Combo amp vs amp head: A combo amp has both the amplifier and speaker in one box. An amp head is just the electronics—you’ll need a separate speaker cabinet to make sound.
If you’re using a head and cab, you have to connect them with a speaker cable, not an instrument cable. This mix-up is way too common, and it’s a fast track to blowing something up.
Here’s a quick guide to the cables you’ll see:
| Cable Type | What It Connects | Notes |
|---|---|---|
| Instrument cable (guitar cable) | Guitar to amp input jack, or guitar to pedals | Standard 1/4″ TS cable |
| Speaker cable | Amp head to speaker cabinet | Looks just like an instrument cable; don’t swap them |
| XLR cable | Mic or DI to mixing board or interface | Not for amp-to-guitar connections |
Impedance matching matters with heads and cabs. The ohm rating on the amp’s output must match the speaker cabinet’s rating. If you mismatch, you can blow the output transformer on a tube amp.
For a basic combo amp, you can ignore all that—just grab one instrument cable and you’re good.
Plug In And Get Sound The Right Way
The order you power things on and off actually matters. Skip a step and you might get a loud pop—or worse.
The correct power-on sequence:
- Set all volume controls to zero before flipping the power switch.
- Plug the instrument cable into your guitar, then into the amp’s input.
- Turn on the power.
- If the amp has a standby switch (most tube amps do), wait a minute or two, then flip standby to “on” or “play.”
- Slowly bring up the volume.
The standby switch is there for tube amp warm-up. If you skip the wait, you’re just stressing the tubes for no reason.
Power-off is the reverse: standby first, then power off. Always do it this way.
Selecting a channel: Lots of amps have a clean channel and another for drive or lead tones. Start on the clean channel every time. It lets you hear your guitar’s real sound before adding anything else.
Some amps use a channel switch on the front; others use a footswitch. If you see a high-input and low-input jack, go for high-input with a standard electric guitar. Low-input is for active pickups or hotter signals. Plugging into the wrong one just means your signal is louder or quieter—not a disaster, but matching them helps.
Set Gain, Volume, And Core Tone Controls
This is where most beginners get stuck. Usually you’ll see two “volume” knobs, but they do totally different things.
Gain vs volume and master volume:
- The gain knob controls how hard you’re pushing the preamp. More gain means more distortion and overdrive. Less gain gives you a cleaner sound.
- The master volume controls how loud the amp is in the room. It comes after the preamp in the signal chain.
Think of the preamp as shaping your tone, and the power amp as making it loud. You can crank the gain for crunch at low master volume, or keep gain low and master high for a clean, loud signal.
My usual starting point:
- Gain: about 9 o’clock (roughly 25%)
- Master volume: 10 or 11 o’clock (just enough to hear well)
- Bass, mid, treble: all at 12 o’clock (straight up)
Setting EQ flat at noon lets you hear what the amp actually sounds like. From there, I tweak one control at a time, just a little—maybe 10 or 15 degrees.
For a clean channel: keep gain below halfway. If you go past 50%, you’ll start to hear some distortion sneaking in.
For overdrive or distortion: raise gain slowly. Most folks set gain at 60–75% and use master volume to control the room level.
Every amp circuit reacts differently, so don’t expect the same settings to sound the same on every amp. Start flat and trust your ears.
Use Built-In Effects And External Pedals
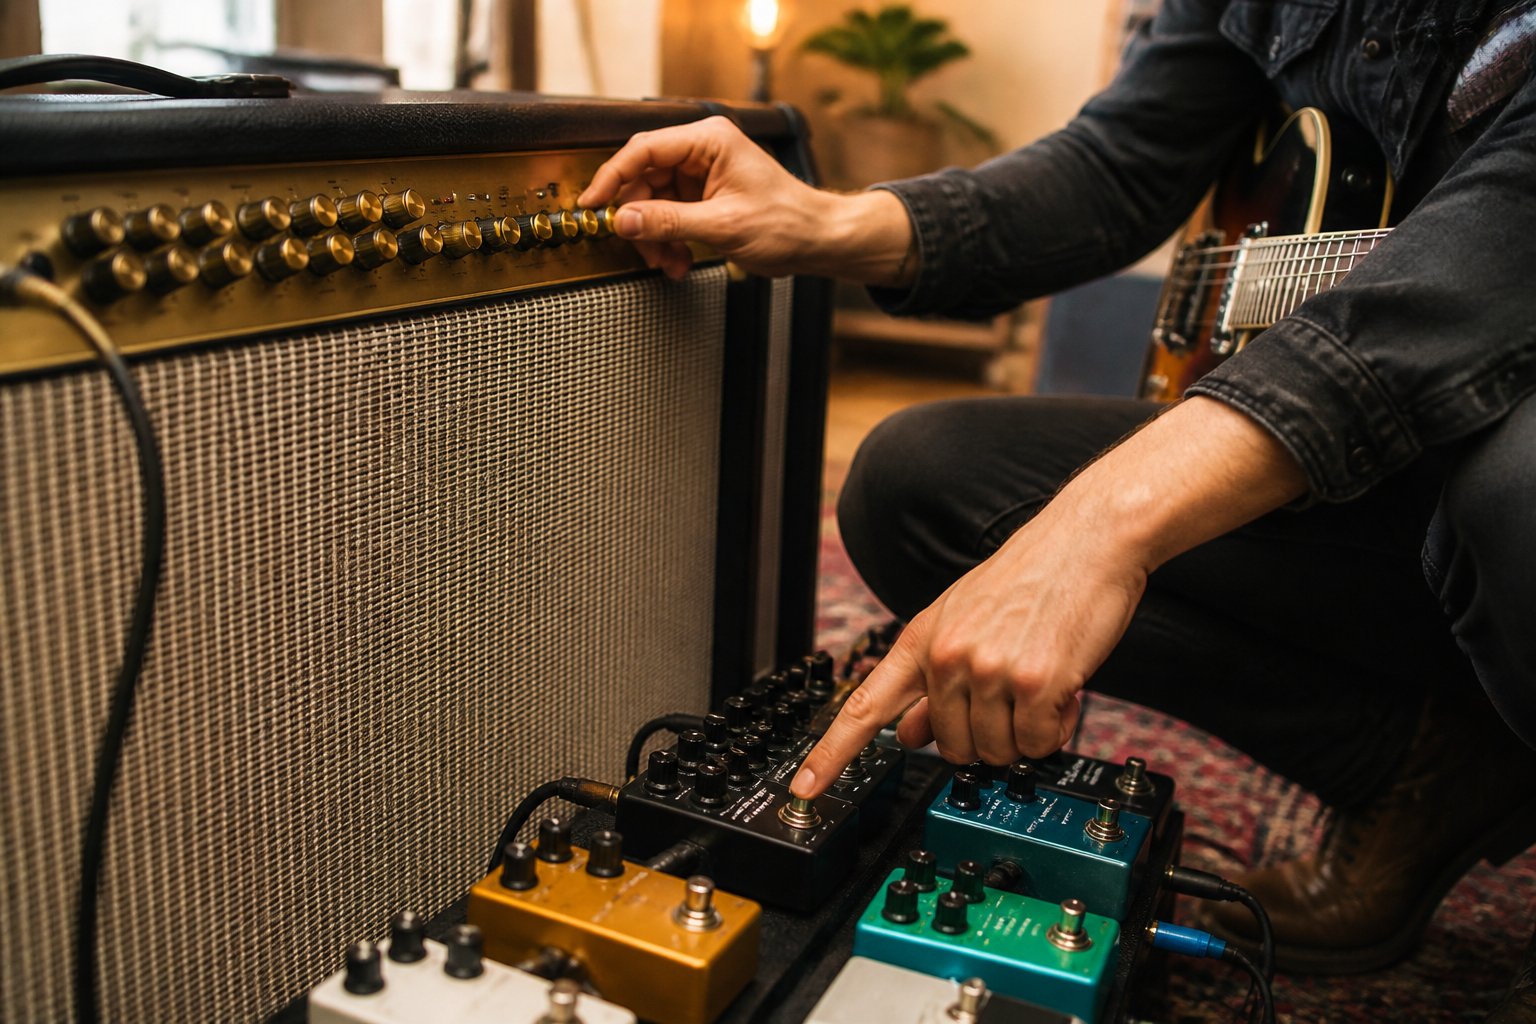
Most amps have at least one or two built-in effects. Many players add extra pedals too. Getting your signal chain right really helps keep things clean and manageable.
Common built-in effects are reverb, tremolo, chorus, and sometimes delay. I always start with all effects off and get my core tone, then add reverb or whatever else as the last step. If you start with effects on, it’s tough to know if your base tone is actually good.
Adding external pedals is pretty straightforward. The signal goes from your guitar, through the pedals in order, then into the amp’s input jack. That’s your signal chain.
The order does matter. A common starting point looks like this:
- Guitar output
- Tuner (first)
- Wah or filter pedals
- Distortion or overdrive pedals
- Modulation (chorus, tremolo)
- Delay
- Reverb (last before amp)
The effects loop is a separate input/output on many amps, usually on the back. It sits between the preamp and power amp. Time-based effects like delay and reverb usually sound cleaner in the effects loop instead of in front of the amp.
Drive and distortion pedals still go in front of the amp input. If your amp has an effects loop, try moving your delay and reverb pedals there—you’ll probably hear the improvement right away.
Match The Amp To Your Playing Situation
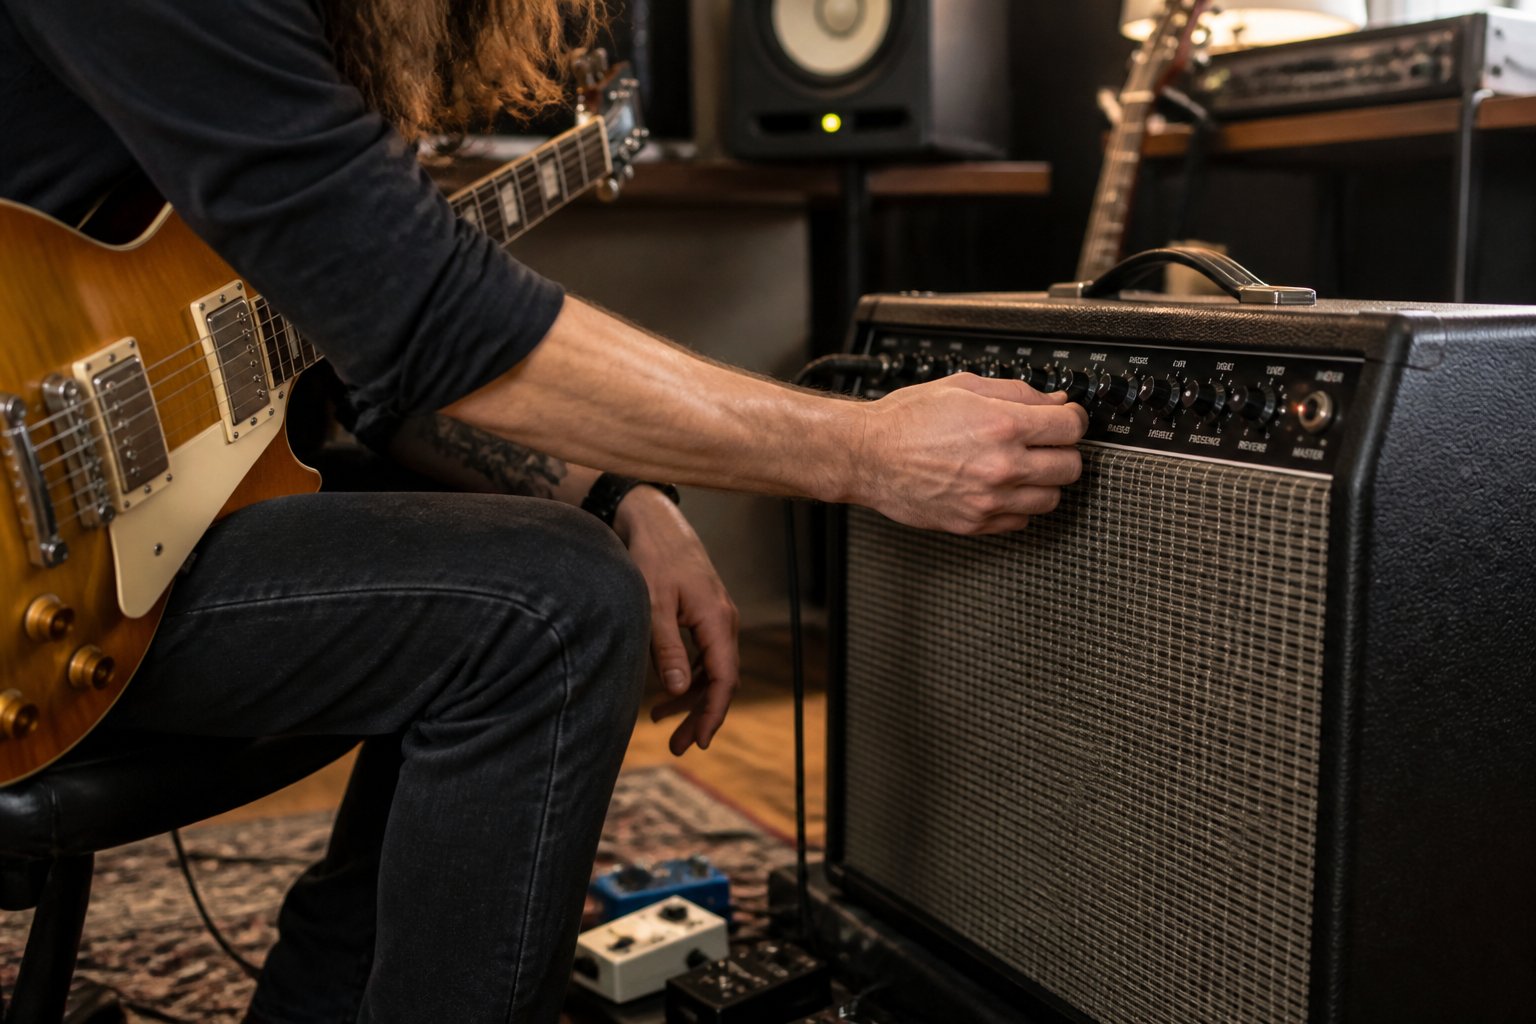
The right amp for one gig can be completely wrong for another. I’ve dragged a big tube amp to a tiny practice room before—never again.
For home practice: A practice amp or beginner amp in the 5 to 20 watt range is a great choice. Solid-state or modeling amps at low wattage let you get good tones at bedroom levels. Tube amps in that range can work too, but they often need to be pushed to sound their best—and that means more volume than you might want at home.
For rehearsal or small gigs: A combo amp in the 30 to 50 watt range, tube or solid-state, covers most rooms. A 30-watt tube amp is usually louder than a 30-watt solid-state amp, since tube amps compress and react differently when cranked.
For bigger stages: An amp head with one or more speaker cabinets gives you more options and more sound. You can mix and match heads and cabs to get different tones.
Modeling amps are worth a look for anyone who wants a lot of sounds fast. A good modeling amp covers clean, crunch, and high-gain tones in one box, often with built-in effects. If you play lots of styles or record at home, they’re super practical.
Here’s a quick guide to amp types by situation:
| Situation | Recommended Amp Type |
|---|---|
| Bedroom practice | Solid-state or modeling practice amp |
| Band rehearsal | Combo amp, 30 to 50 watts |
| Live performance | Amp head plus speaker cabinet, or high-watt combo |
| Recording at home | Modeling amp or low-watt tube amp with attenuator |
Record, Expand, And Fix Common Problems
Once the basic setup is working, players usually want to record or start chasing down problems.
Here’s what I do in both situations.
Recording a guitar amp: The most common method is to mic the speaker cabinet with a dynamic microphone. Run that into an audio interface, then into your DAW (digital audio workstation).
The interface converts the analog signal to digital. Some amps have a direct recording out or a balanced XLR output, so you can skip the microphone and plug straight into the interface.
Never run a speaker cabinet output into your audio interface input. That’s a recipe for disaster and can fry your interface.
Expanding the rig: If you’re adding a second speaker cabinet, match the impedance of both cabs to the amp head’s output. Check the amp’s back panel for labeled outputs (4 ohm, 8 ohm, 16 ohm).
Mismatched impedance puts stress on the amp’s output section. Not worth the risk.
Common problems and quick fixes:
- No sound: Check the instrument cable first. Cables fail more than anything else, so swap it for one you know works.
- Loud hum: Usually a grounding issue. Plug the amp into a grounded outlet. Single-coil pickups will hum more than humbuckers, that’s just how it is.
- Crackling or cutting out: On a tube amp, suspect a failing tube. On any amp, check if the input jack feels loose or wobbly.
- Muddy or thin tone: Reset the EQ to flat and start over. More bass rarely helps; cutting bass and bumping up the mids usually clears things up.
- Loud pop when turning on: You probably powered on with the volume up, or skipped the standby switch step.
Frequently Asked Questions
How do I connect my electric guitar to an amp properly?
Run an instrument cable from your guitar’s output jack to the amp’s input jack. Turn all volume controls to zero before powering on.
Never use a speaker cable for this connection. It looks the same as an instrument cable but it’s wired differently and can cause problems.
What’s the right order to turn on an amp and avoid loud pops?
Set all volume knobs to zero, then power on the amp. For tube amps with a standby switch, wait a minute or two before flipping standby to play.
When shutting down, do the opposite: standby first, then power off.
Which amp knobs should I start with for a clean sound?
Keep gain low (around 9 o’clock) and master volume at a comfortable level. Set bass, mid, and treble to 12 o’clock.
If your amp has a clean channel, select it. This gives you a neutral starting point to hear the amp’s natural sound.
How can I dial in a good overdrive or distortion tone without getting muddy?
Bring up the gain slowly instead of cranking it. Try cutting some bass and boosting the mids a bit to keep things clear.
Muddy distortion almost always comes from too much low end with high gain. Pull the bass back and you’ll usually fix it fast.
Can I use a wireless system with my amp, and how do I set it up?
Definitely. A wireless system just replaces the instrument cable between your guitar and amp.
Clip the transmitter onto your strap or plug it into the guitar, then plug the receiver into the amp’s input. Set both units to the same channel and set up the amp like you normally would with a cable.
What should I check if my amp has no sound or keeps cutting out?
Start with the instrument cable. Cable failure is honestly the most common reason for losing your signal, so swap it out for one you know works.
If you’re using a tube amp, take a look at the tubes. Do any of them look dark, cracked, or maybe a little discolored?
Check the input jack connection and make sure it feels solid. Also, double-check that the volume and master controls are actually turned up—yeah, it happens to the best of us.
Author Profile

- Jacob Tanner has been playing guitar for over a decade, with most of those years spent on stage rather than in a bedroom. He's toured with original acts and cover bands across the US, which means his gear has been tested in loud rooms, bad monitors, and situations where something always goes wrong. His pedalboard has been rebuilt more times than he can count — not because he's indecisive, but because gigging teaches you fast what actually holds up and what sounds good only in a music store. At Musical Study, he writes about guitar effects and gear from that same practical perspective: what works when it matters, and what's worth your money.
Latest entries
 Music TheoryJuly 17, 2026Guitar Pedal Order: The Right Signal Chain and Why It Matters
- Music TheoryJuly 17, 2026Overdrive vs Distortion: What’s the Difference and Which Do You Need?
- Guitar PedalsJuly 17, 2026The 5 Best Overdrive Pedals for Guitar: Tested on Stage and in the Studio
- Guitar PedalsJuly 17, 2026The 5 Best Fuzz Pedals for Guitar: From Hendrix to Shoegaze