How to Record Electric Guitar at Home: Simple Steps for Great Sound
Recording electric guitar at home can be a rewarding endeavor. It allows you to capture your creativity and hone your production skills without stepping into a professional studio. I understand the intimacy and immediacy of building a personal musical space. In this space, every riff and chord progression is faithfully preserved.
With advancements in technology and accessibility of quality equipment, achieving studio-like sound in the comfort of your home has never been more attainable.
My methodical approach to this process will guide you through the essentials, from room acoustics to gear selection.
The key to successful home recording lies in understanding the space you have and optimizing it for the best sound. I take time to consider the room’s acoustics, because this can significantly influence the quality of the recording.
Choosing the right microphones, interfaces, and other recording gear is also crucial since these tools can either enhance or undermine the tonal qualities of the electric guitar. I pay attention to the intricacies of mic placement and recording techniques, always striving to capture the true essence of the instrument.
When the initial recording is complete, the next step is processing the tracks. This involves adding effects, adjusting levels, and sometimes layering multiple takes to create a richer sound. I don’t shy away from exploring advanced recording techniques to bring out the best in my guitar performances. I also remain ready to answer frequently asked questions to help others streamline their recording process.
Key Points
- Recording electric guitar at home is accessible with the right space optimization and equipment.
- Proper mic placement enhances the authenticity of the electric guitar’s sound.
- Post-recording processing can significantly improve the quality of guitar tracks.
Table of Contents
Setting Up Your Home Recording Space
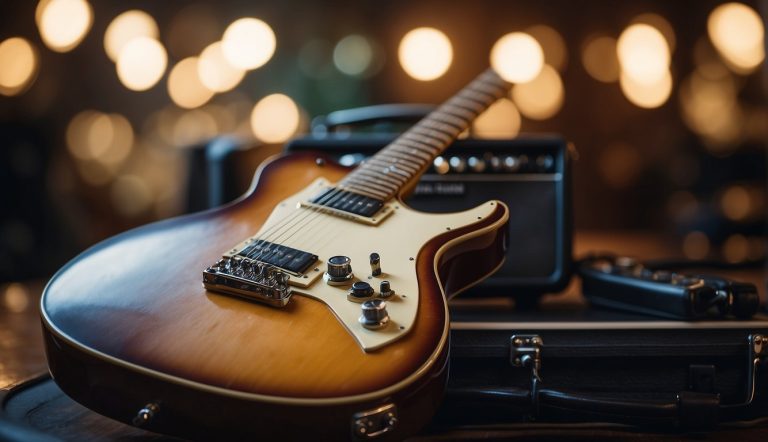
When I began recording electric guitar at my home studio, the first step I took was to ensure I had a space that was conducive to quality recording. A proper setup is key for capturing a great tone and can be done on a budget.
I started with selecting a quiet room and focused on acoustic treatment. Strategic placement of some affordable foam panels helped to reduce unwanted echoes and enhance the sound quality. I also made sure the room had a comfortable ambience, which can subtly influence my playing and the recording’s vibe.
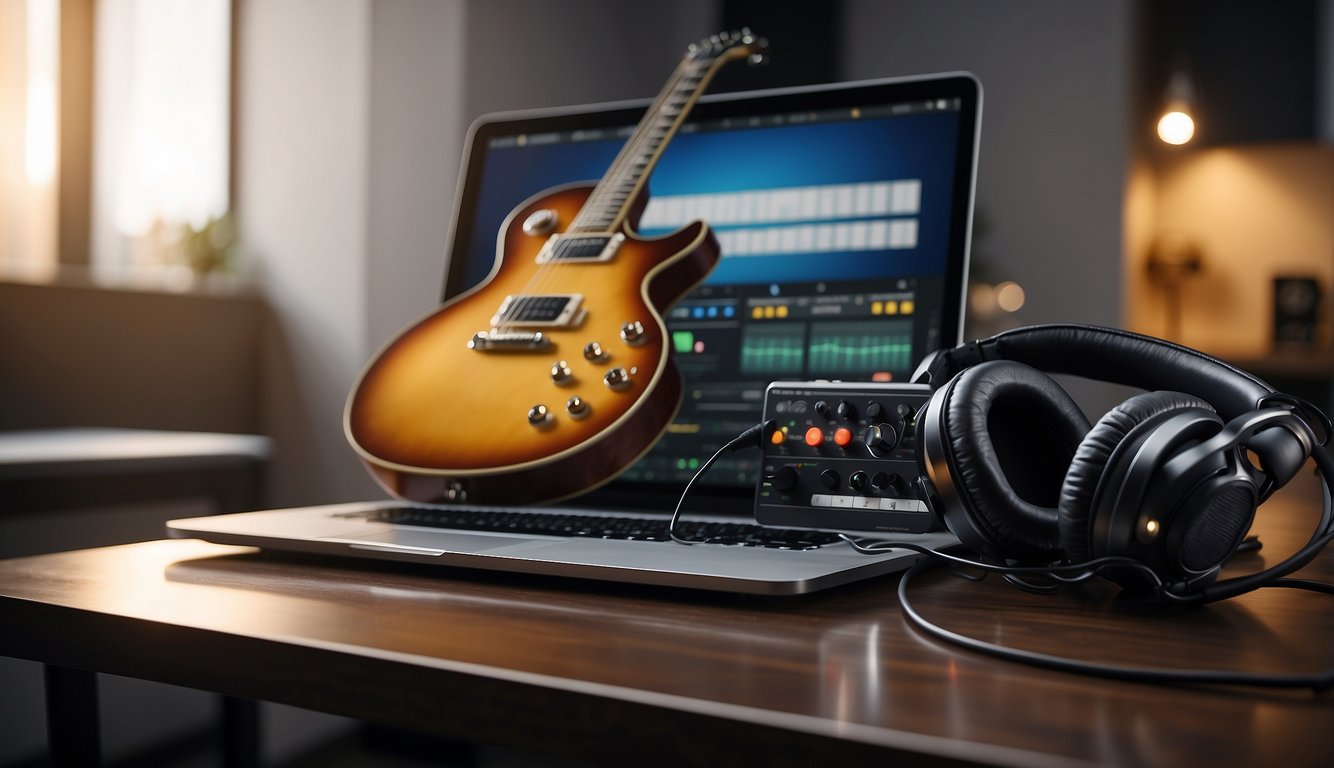
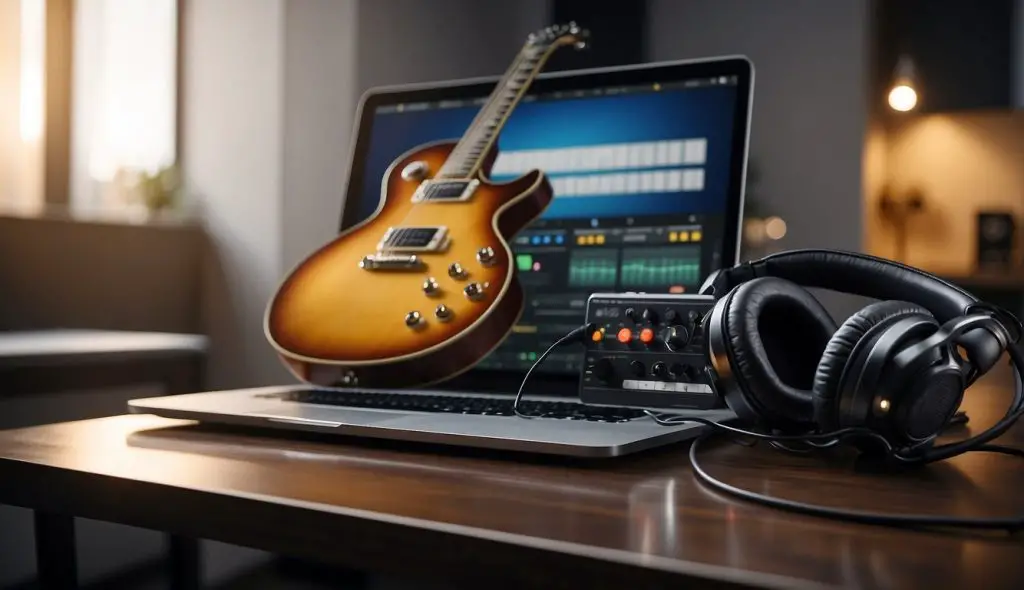
The heart of my recording equipment is the audio interface. It’s a pivotal piece that connects my guitar to my computer and other gear. I opted for an interface that is compatible with my recording software and offers pristine audio quality without breaking the bank.
For microphones, I invested in a versatile condenser mic that could capture the nuances of my electric guitar, as well as a dynamic mic for louder, more aggressive playing.
Monitoring is critical for fine-tuning my sound, so I chose a pair of studio monitors and closed-back headphones that give me an accurate representation of my recordings. This way, I make informed adjustments and avoid nasty surprises during playback.
Lastly, I considered my budget carefully, and opted for gear that provided the best value for money. A home studio doesn’t need to be expensive to produce professional results; it’s all about choosing the right tools and setting them up effectively.
Choosing the Right Equipment
In my experience, recording electric guitar at home requires meticulous selection of microphones, audio interfaces, DAWs, amplifiers and speaker cabinets to achieve professional sound quality.
Microphones for Electric Guitar
I find that dynamic mics, particularly the Shure SM57, are reliable and durable choices for capturing the raw energy of an electric guitar. Its ability to handle high SPLs and present a clear midrange makes it a staple in home studios.
- Dynamic Mic: Shure SM57
- Response: Tailored for midrange clarity
- SPL Handling: Excellent for loud sources
For a warmer, more nuanced sound, ribbon mics are a great option, although they require a bit more care due to their delicate nature.
- Ribbon Mic: General characteristics
- Sound: Warm and smooth
- Durability: Fragile, handle with care
Condenser mics can be used when more detail and a wider frequency response are desired, especially in a well-treated room.
- Condenser Mic: Use cases
- Detail: Captures high-end detail
- Environment: Best in controlled settings
Audio Interface and DAW Selection
An audio interface bridges my guitar’s sound to the digital realm. I ensure it has a high-quality preamp and supports at least 24-bit/96kHz for professional sound. XLR and instrument cable inputs are essential for versatility.
- Audio Interface Must-Haves:
- Preamp Quality: High-grade
- Resolution: 24-bit/96kHz support
- Connectivity: XLR and instrument inputs
For DAWs, I select one that is intuitive for me to use while offering robust features and compatibility with various plug-ins and virtual amps.
- DAW Choices:
- Usability: Personal workflow compatibility
- Features: Ample mixing and editing tools
Amplifiers and Speaker Cabinets
Depending on the desired sound, I choose either a physical guitar amp and speaker cabinet or their digital emulations.
- Guitar Amp: Characteristics for recording
- Tone: Reflects my desired sound character
- Output: Suitable for home levels
When miking a speaker cabinet, I go for models that are known for their recording-friendly sound at reasonable volumes.
- Speaker Cabinet Considerations:
- Size: Smaller ones often record better at low volumes
- Speakers: Quality of speakers influences tone greatly
Mic Placement and Recording Techniques
When I record electric guitars at home, precise mic placement and recording techniques are crucial to capturing the ideal tone. I’ll share my go-to strategies, focusing on the microphone’s positioning and how to hone in on the sound you’re after.
Fundamentals of Microphone Placement
I begin by positioning the mic stand securely to avoid any movement that could affect the sound during the recording session. The choice of microphone and its placement relative to the speaker contributes greatly to the resulting tone.
Typically, I start with placing the microphone aiming at the centre of the speaker, as this is where the sound is most direct and bright. If I’m after a warmer tone, I’ll move the microphone towards the edge of the cone.
Common Mic Placements:
- Centre of the speaker cone: Yields a brighter tone with more attack.
- Edge of the cone: Offers a softer, warmer sound.
Remember to use a high-quality XLR cable to ensure a clean and clear signal from the microphone to the recorder. The connection points, from the mic to the stand, and from the XLR lead to the microphone and recorder, should all be secure without any risk of disconnection or noise interference.
Achieving the Desired Tone
Achieving the desired tone involves adjusting the microphone placement, but also tweaking settings on both the guitar and the amp.
By altering the gain and EQ settings on the amp, I can dictate the amount of distortion and the balance of frequencies I capture. Additionally, trying different positions in relation to the speaker cone and experimenting with off-axis placements can yield a variety of tonal colors.
When I want to compare the nuanced differences in tone, I may record a direct input (DI) signal using a quarter-inch jack alongside the miked signal. This gives me the flexibility to blend or re-amp later on if I decide the mic’d tone can be improved upon.
Processing Your Electric Guitar Tracks
When I record electric guitar at home, the journey doesn’t stop at just capturing the sound; processing is a crucial stage that ensures my tracks are vibrant and mix-ready.
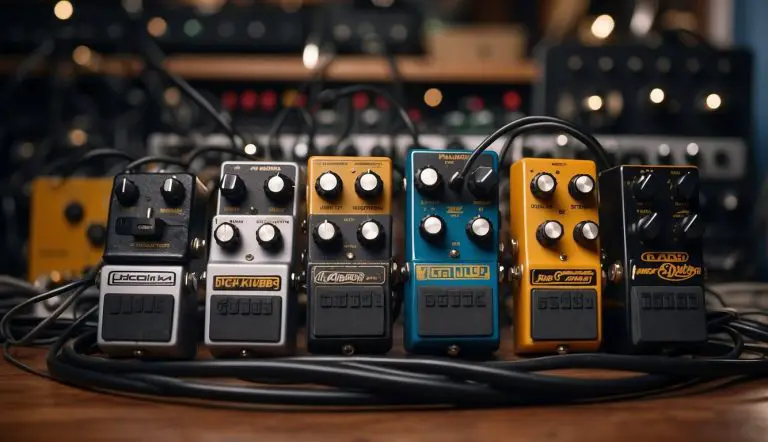
Utilizing Plugins and Effects
Plugins play an essential role in shaping the electric guitar sound post-recording. My go-to setup involves a chain of effects to refine the tone.
- EQ: I use equalization liberally to carve out unwanted frequencies and enhance the guitar’s presence in the mix. Cutting out the low-end muck around 50-100 Hz and giving a slight boost in the mids can really help the guitar cut through.
- Compression: To maintain consistency in the guitar’s dynamic range, I apply a compressor with a moderate ratio. This ensures that the picking nuances are preserved while avoiding peaks that could clash with other mix elements.
- Amp Modelling: Solutions like Amplitube and Guitar Rig are staples in my home studio for re-amping. These tools emulate classic amp sounds with impressive accuracy, saving space and budget.
- Impulse Responses: They are akin to sonic snapshots of speaker cabinets that, when used with amp modeling, bring life and authenticity to the tone.
For novices, Garageband is an excellent start with its user-friendly interface, while Logic, a step up in complexity, offers a more comprehensive suite of tools. Both are regularly updated to keep latency to a minimum, ensuring immediate response during playback and recording.
Editing and Mixing
In this phase, I ensure my recorded tracks sit well within the song. Here’s my typical workflow:
- Trimming & Aligning: I meticulously edit the start and end of each track, making sure there’s no unwanted noise. If necessary, I align the guitar parts with the grid to tighten timing.
- Re-amping: Sometimes I record a clean guitar signal and later run it through amp simulators. This allows me to experiment with different tones without having to re-record.
- Mixing With Care: I mix at a lower volume to safeguard my ears and maintain perspective. It also ensures that I am not masking any instruments and that my guitar can be heard clearly.
Advanced Recording Techniques
When recording electric guitar at home, advanced techniques like DI recording and the use of isolation cabinets can enhance the quality and flexibility of your tracks immensely.
DI Recording and Re-amping
I often leverage DI (Direct Input) recording to capture a clean guitar signal that I can manipulate later during the mixing phase. This technique involves plugging my electric guitar directly into a DI box, which optimally balances the signal to send it to my audio interface.
Here’s a quick rundown of the process:
- Connect the electric guitar to the DI box.
- Send one output to the audio interface (for the clean DI signal).
- Route the other output to my guitar amp (to monitor and play naturally with amp sound).
By recording a clean DI signal, I have the freedom to re-amp the guitar in post-production. Re-amping is a two-step process:
- Step 1: Play back the clean DI recording through an amplifier.
- Step 2: Record the amplified signal with a microphone.
This gives me the flexibility to experiment with different amp settings and effects without needing to re-record my performance. I can also use impulse responses with guitar amp simulation software to emulate different cabinet sounds.
Isolation Cabinets and Load Boxes
For recording loud amps without disturbing my neighbors, I use isolation cabinets. These units are soundproof boxes that house the guitar amplifier’s speaker. I place a microphone inside the cabinet to capture the sound:
- Pros: High-quality amp tone at controlled volumes.
- Cons: Less air movement compared to a room-miked amp, which can affect sound perception.
Alternatively, I use load boxes and attenuators to play the amp at high volumes but control the output level. A reactive load box, for instance, can safely absorb the amp’s output while providing a line-level signal to my audio interface. Some models also provide an emulated speaker output, making the recording process even less noisy:
- Pros: True amp tone at reduced volume levels.
- Cons: The dynamic response might differ compared to the amp’s natural speaker output.
Frequently Asked Questions
Recording electric guitar at home can be simple once you have the right gear and know-how. In this section, I’ll answer some of the most common questions to help you get started.
What do I need to start recording electric guitar at my home studio?
To start recording electric guitar at home, you need your electric guitar, a computer or recording device, cables, audio interface, and recording software (DAW). You might also consider a quality microphone if you prefer to capture your amp’s sound.
Can I use my computer to record electric guitar, and if so, how?
Yes, you can use your computer to record electric guitar. You’ll need an audio interface to connect your guitar. The interface converts the guitar’s signal to a digital format that your computer’s recording software can use.
Is it possible to record an electric guitar using just a phone?
It is possible to record an electric guitar using just a phone with certain apps and possibly an adapter to connect your guitar. However, the quality won’t match that of a dedicated audio interface and computer setup.
What’s the best way to record electric guitar quietly in a home environment?
The best way to record electric guitar quietly is to use a direct injection (DI) box or an audio interface with your computer. This way, you can use headphones to monitor your playing and keep the noise level down.
How can I record an electric guitar if I don’t have an audio interface?
If you don’t have an audio interface, you can use a microphone to record your guitar amp or use your computer’s line-in input with a high-impedance adapter designed for guitar. However, the quality may not be as high as with an audio interface.
What are the basics of using an audio interface to record electric guitar?
Using an audio interface involves a few simple steps. First, connect your guitar to the interface with a standard guitar cable. Then, connect the interface to your computer.
Next, choose the interface as your input source in your DAW. After that, set levels, and you’re ready to record.