How to Use GarageBand for Beginners: A Step-by-Step Guide
Starting on the journey of creating music can be as exciting as it is daunting. However, with tools like GarageBand, the process becomes approachable for beginners. GarageBand is a powerful music creation studio right on my Mac. It offers a wide array of instrument sounds and loops.
The interface is designed to encourage even novice users to explore and create music without getting overwhelmed.

As I began my musical exploration, GarageBand’s intuitive layout simplified the process. It guided me through selecting instruments, creating tracks, and adding loops. The ability to immediately listen back to what I’ve created motivates me to keep experimenting. Moreover, its flexibility caters to those who might want to start with a simple beat or hum a melody. With time and practice, I learned to enhance my music with different effects and fine-tune it until it sounded just like the songs I enjoy.
Key Points
- GarageBand provides an intuitive platform for beginners to start creating music.
- The user-friendly interface facilitates learning and creative experimentation.
- Gradually enhancing and sharing music projects builds confidence and skills.
Getting Started with GarageBand
GarageBand is a versatile digital audio workstation designed for Mac and iOS users, making music creation accessible to all skill levels. In this guide, I’ll show you how to navigate its interface and set up your first project.
Navigating the Interface
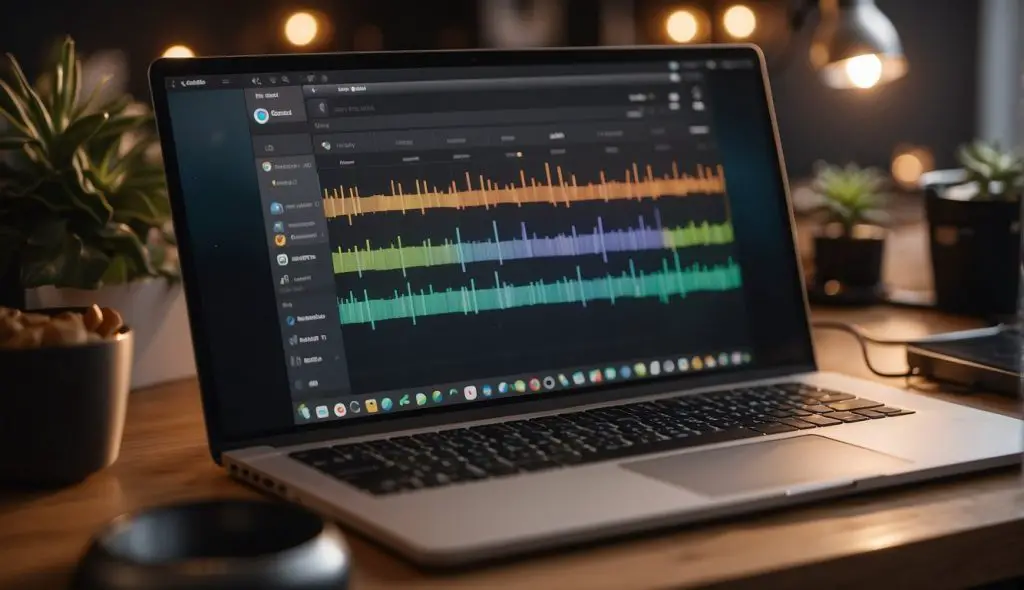
When I first open GarageBand on my Mac, the main window greets me with various options to get started. If it’s my first time, I take a moment to familiarize myself with the different areas. At the top, I find the control bar, which houses essential functions like play, record, and the library of sounds. In the center, there’s the workspace where my tracks will be displayed and arranged.
I always pay special attention to the Library on the left, where I can select different software instruments, audio recordings, or loops to use in my tracks. The Loop Browser and the Note Editor are other crucial areas I familiarize myself with, as they’re vital for working with pre-recorded loops and editing individual notes or rhythms.
Getting to know the Preferences is also key. By going to GarageBand > Preferences from the menu bar, I can adjust different settings to suit my workflow. This is where I make sure my audio interface is selected for input and output, if I’m recording live instruments or vocals.
Setting Up Your First Project
To create a new project, I click on File > New. Here, I’m presented with various project templates which cater to different needs, but for beginners, I recommend starting with the default ‘Empty Project’. This gives me a clean slate to start from.
In the pop-up window that follows, I make a point to adjust the settings relevant to my project. For timing, the default tempo, key signature, and time signature can be modified here, though I can always change them later.
Once the project opens, I add a new track by clicking the ‘+’ icon. I have to decide between a software instrument, audio track, or drummer track. A software instrument allows me to use my Mac’s keyboard or a connected MIDI keyboard to play a vast selection of virtual instruments. An audio track is used for capturing live performances using a microphone or connected instrument.
When the track is created, its controls appear in the main window, and here’s where the real fun begins. With my track set up, I can begin recording or experimenting with loops by dragging them from the Loop Browser into my project timeline.
Remember, experimentation is key, so I don’t hesitate to try different instruments or loops to see what fits my musical vision. The most important thing is to enjoy the process while exploring what GarageBand has to offer!
Creating Your First Piece
When I start a new project in GarageBand, I focus on the foundation: my tracks. I’ll walk through adding and recording tracks, then I’ll show how I like to work with loops and beats to create a rich sound.
Adding and Recording Tracks
To begin, I open GarbageBand and select File > New. I choose a new project and start by adding tracks. There are two main types of tracks I can add:
- Software Instruments: These let me play a variety of instruments via MIDI. I can access these by clicking the
+button in the top left and selectingSoftware Instrument. I then use MIDI to input notes, either with a connected keyboard or using the piano roll editor. - Audio Recording: For live instruments or my voice, I select
Audiofrom the same+menu. I plug in my microphone or instrument, ensure it’s recognized by GarageBand, and hit the redRecordbutton when I’m ready.
With my tracks added, I ensure they’re correctly labeled and color-coded for easy navigation.
Working with Loops and Beats
GarageBand makes it easy for me to add complexity to my music with its built-in loops and beats:
- Loop Browser: By clicking on the
Loop Browserbutton (it looks like a loop), I open GarageBand’s extensive Apple Loops library.
Here’s how I generally use loops:
| Step | Action |
|---|---|
| 1 | I listen to different loops by clicking on them. |
| 2 | When I find one I like, I drag it into my project. |
- Beats and Drum Kit: I can also add beats to my project by creating a new Drum Kit track and either using a MIDI controller to input rhythms or by programming them directly into the piano roll.
I make sure to align the beats with my project’s tempo and rhythm, tweaking as necessary with the editing tools to get the sound just right.
Enhancing Your Music

When I’m working on a project, I like to focus on two main aspects to really make my music stand out: using effects and plug-ins, along with perfecting the mix. These can turn a good song into a great one with depth, character, and clarity.
Utilizing Effects and Plug-Ins
Effects add texture to my music, and GarageBand offers a wide range I can experiment with. For instance, reverb gives my tracks that desired spaciousness, while delay can add an echo effect that’s perfect for lead guitar solos. When I need to punch up the bass or bring warmth to vocals, I apply equalization (EQ), tweaking low, mid, and high frequencies to find the right balance.
To tailor sounds even further, I turn to plug-ins. I generally start with GarageBand’s built-in selections in the Sound Library before exploring third-party options. Adding modulation plugins like chorus or flanger can broaden the sound palette and provide a professional finish to my audio tracks.
Perfecting Your Mix
Mixing is the art of balancing all the elements in my song, and GarageBand’s intuitive mixing console lets me adjust volume levels and panning with precision. For example, the main vocal track should typically stay center and clear, so I often adjust other tracks to complement it, rather than compete with it.
I always use the metronome at the early stages to keep everything in time. Then, when I’m into the finer details of the mix, I’ll adjust the tempo if needed for the right feel. The editor is a great tool for applying fades and automating volume changes across the song to build dynamics. Here’s a simple layout of how I often go about my adjustments:
- Volume: Keep lead vocals strongest.
- Panning: Separate instruments for a spacious mix.
- Fade: Automate fade-ins and fade-outs to create tension and release.
- Equalization: Cut or boost frequencies to avoid muddy sounds.
Finally, to make sure everything is perfectly in sync, I use the audio editor to trim and align sections, ensuring that every beat lands just right. With a bit of practice, these tools and techniques allow me to create music that truly resonates.
Finalizing and Sharing Your Project
When I’ve finished my composition in GarageBand, my next step is to get it ready for listeners. I begin by finalizing my piece. This means I go through and listen for any sections that could use a final polish. I adjust levels and effects to ensure everything sounds cohesive.
Once I’m satisfied with how my project sounds in GarageBand, I export it. GarageBand lets me export my song in different formats, but I usually choose MP3 because it’s compatible with almost all media players and devices. To do this, I navigate to ‘Share’ in the menu, and select ‘Export Song to Disk’. Then, I pick ‘MP3’ as the format and choose the quality I prefer.
Sharing my music is an exciting part of the process. Here are a few steps I follow:
- AirDrop: For nearby Apple users, AirDrop is convenient. I make sure both devices have AirDrop turned on and select my project and tap share.
- Email or Message: If my song file isn’t too large, I sometimes share it via email or send it in a message.
- Social media & Music Platforms: I also upload my MP3 to platforms like SoundCloud or share it directly on my social media to reach more listeners.
Tips for exporting:
- Choose ‘Highest Quality’ for professional use.
- Opt for a lower bitrate if you need to conserve space.
- Always keep a copy of your original GarageBand project file.
Frequently Asked Questions
In this section, I cover some common questions you might have as you begin exploring GarageBand, whether it’s on your iPhone, iPad, or Mac.
What are the first steps to start making music in GarageBand?
To start making music in GarageBand, create a new project and select the type of track you want to use. You can choose from software instruments, audio recordings, or guitar or bass.
Next, experiment with pre-loaded loops and virtual instruments. Then, use the intuitive interface to record and arrange your music.
Can you create a ringtone using GarageBand on your iPhone?
Yes, you can create a custom ringtone using GarageBand on your iPhone. Simply record or import a song, edit it to the desired length within the app, and then export it as a ringtone directly to your iPhone settings.
What are some essential tips for beginners learning to use GarageBand on the iPad?
For beginners on the iPad, familiarize yourself with the Touch Instruments. Then, practice using the Smart Touch instruments for easy music creation.
Also, make use of the built-in tutorial and tips to quickly learn the app’s features.
Is GarageBand suitable for complete beginners interested in music production?
GarageBand is an excellent tool for beginners due to its user-friendly interface and comprehensive features. It offers built-in lessons and a wide range of instruments that accommodate various skill levels.
How can I access a beginner’s tutorial for GarageBand to start creating music?
You can access beginner’s tutorials for GarageBand within the app under the ‘Learn to Play’ section. Alternatively, look for official Apple Support videos online. Many musicians and educators also provide free tutorials on YouTube.
Where can I find a tutorial to help me learn GarageBand basics for my iPhone?
To find tutorials for GarageBand basics on your iPhone, search the App Store for GarageBand tutorial apps. You can also visit YouTube for a plethora of instructional videos. These videos range from beginner to advanced techniques.


