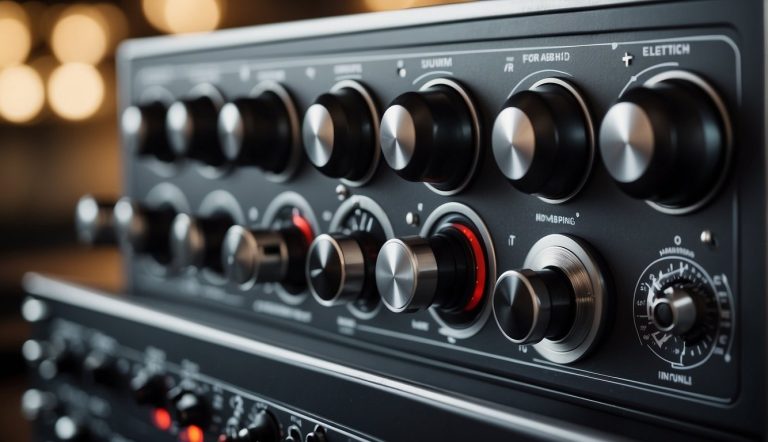
How To Improve and Remaster Audio
Sometimes, the first try isn’t always the best. Sometimes, we have to draft it out and edit and tweak it until we are satisfied with the outcome. In making an audio, its pretty much the same. Audio pieces often undergo remastering in order to get the perfect song after a series of revisions.
In editing, you can choose your own preference in editing your audio file. You can go to Edit then click Preferences. Then, you can key in your desired length. Make sure you auto save it in a separate folder then the value should be in “auto save interval”. For the interface you can select the project that you are working on and check the “automatically fit tracks vertically zoomed”. It is highly recommended that you use headphones in editing so that you can hear the tracks more clearly.
Photo Source: http://www.kvraudio.com/product/blue-cats-dynamics-by-blue-cat-audio/details
Step One: Two Channel Mono Files
These are files that have the same channel. You can extract one file and use the original one for safe keeping. This is not applicable if you want to work on the whole file on both channels at the same time. Make sure to check if it is really identical.
First, you go to Tracks, then Add New and choose the Audio Track that has two channels. In the Track Menu, click Split Stereo Track. You can switch channels if you want to examine which channel is better. If you decided which of the two tracks is better, you can copy the whole channel to create a new track, then reunite it again by going to Track Menu and selecting Make Stereo Track. After this, you can now play and switch channels. If you are satisfied, you can now save track into “Solo”.
For identical channels, you can close the original track then select Mono in the Track Menu then export it to Solo.
Step Two: Removing Unwanted Parts
All you need to do is mark the section you want to delete. Before cutting the track, there are certain things that you need to consider. First, you need to leave a section with a hiss or a similar noise before or after the track. Then you can remove or reduce the loud noise pulses that would influence proper editing of the volume. In removing non-silent audios, be sure to be very careful in order to create clean cuts. Then use Truncate Silence before and after the track. You can also use this when removing silent parts. Take note of the parameters like Max Silence duration and Threshold for Silence. This makes gap smaller.
Step Three: Removing DC Offset
DC Offset is caused by clicks when you are editing. You can remove this by going to Effects then unticking Normalize in order to add the effect. If you can see displacements in the wavelengths, make sure that you don’t swing it symmetrically.
Step Four: Noise Reduction
You can lessen the noise by going to Effects, then Leveller. This command reduces noises. This two-step process can be undone by clicking the area where the noises are located. Then, get a noise profile and add it on the selected region.
Step Five: Removing Clicks and Tick Dropouts
Clicks and ticks often occur when editing. There certain clicks and ticks that are very hard to find. Once you have located them, you can go to Effects, then Repair. You can also use the Draw Tool. This to draw another line on the clicking part. Finally, you can use Low Pass Filter or just delete it.
Step Six: Equalizing
For mono files, check if there are any replacements. If none, go to Effect, then Equalization. A window will open, allowing you to draw and edit curves. After drawing out new curves, make sure to check preview before applying any effects on your tracks.
Step Seven: Editing Volumes for Channels
If there is unequal volume on each channel, you can adjust it manually by going to Effect, then Normalize. This makes sure that both channels are amplified well. You can also amplify both channels differently by going to Effect, then Amplify.
Photo Source: https://wallpaperscraft.com/download
Step Eight: Volume Changes
Equalizing and amplifying always go together. If the volume increases, frequency would also increase. It is best that you be careful in making cuts and changes to avoid more work on editing the volume of a certain track. If you wish to amplify a certain region, click the region to be amplified, then select Effects and go to Amplify. Finally, apply it to a certain region.
Step Nine: Changing Dynamics
Changes in dynamics can be done manually. You can use compressors, leveller and expander in order to change the dynamics of the audio track. Dynamic changes are very important because it allows you to compare and check which files would fit in the compilation.
Leveller reduces noise by intensifying the effect to avoid breaching the parameters. Expanders expands the music to give way to other dramatic effects, which is a total opposite of the compressors. Compressors reduces noise difference between loud and soft noise by lessening the loud noise .
Step Ten: Making New Parts
In this part, you are going to create and replace various parts that seems to be missing in your piece. You can replace any parts of the track that you want depending your preference. You can change the Tempo by going to Effects, then Change Tempo. You can replace the end by fading it. To do this, choose Effects then Fade Out. If you wish to change the pitch, you can click the same button, then go to Pitch.
Remastering is never easy. You have to be consistent and creative in order to get the perfect finish. Remember that even music needs constant changes in order to get a more beautiful and better results


